How to Build a Vehicle First-Aid Setup: Best FlareSyn Kits and What to Add

Keeping a vehicle first aid kit in your car isn’t just a smart idea—it can be life-saving. Accidents, sharp tools, or sudden medical emergencies can happen anywhere. Whether you drive to work every day, travel long distances, or take your SUV off-road, having reliable trauma supplies in reach makes all the difference.
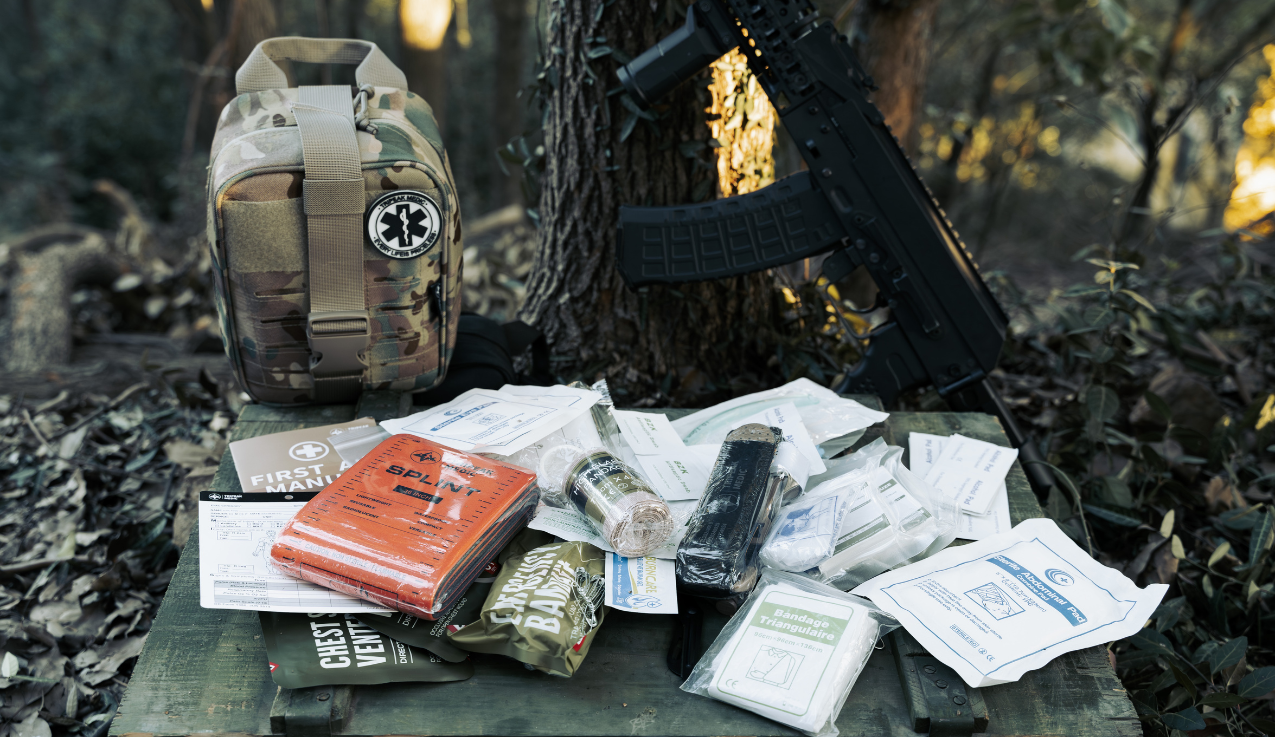
Unlike household first aid boxes, a vehicle first aid kit must handle motion, heat, and limited space. It also needs to focus on immediate bleeding control and stabilization until professional help arrives. FlareSyn’s trauma kits are designed around exactly that philosophy—compact, organized, and fast to deploy even with one hand.
Why every vehicle needs a dedicated first-aid setup
Accidents happen when you least expect them
You may never predict when a tire blowout, sharp metal, or sudden brake failure will happen—but preparation can turn panic into action. Studies from the National Safety Council show that over 4.8 million people are seriously injured in road crashes every year. In the first minutes after an accident, controlling bleeding or clearing an airway can determine survival.
A vehicle first aid kit gives you the ability to act before first responders arrive. Even a small pouch can contain lifesaving tools like a tourniquet, pressure bandage, or hemostatic gauze.
How response time determines injury outcomes
When it comes to trauma, minutes matter. The golden window for stopping bleeding is under five minutes. Every driver—trained or not—should be able to reach a vehicle first aid kit within arm’s reach.
- Tip: Mount your kit within 1.5 seconds of reach time. For example, on the back of a headrest or under the front seat.
The faster the response, the higher the chance of survival. This principle drives the design of FlareSyn kits—accessible layouts, labeled compartments, and one-pull deployment straps.
Why standard store-bought kits often fall short on the road
Most generic kits found at gas stations or supermarkets include small bandages and alcohol pads. Those are fine for scrapes—but useless in serious trauma. They lack tourniquets, trauma dressings, and chest seals—tools proven to save lives in field medicine.
In contrast, a FlareSyn vehicle first aid kit integrates these high-utility medical-grade components:
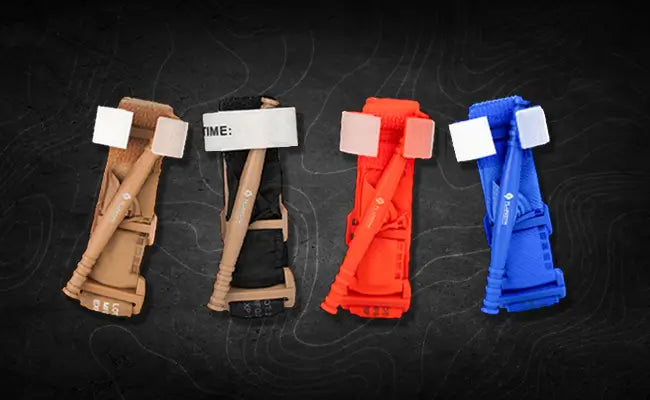
- Combat tourniquet (tested for one-handed use)
- Compressed gauze for deep wound packing
- Chest seal for penetrating chest injuries
- EMT shears and nitrile gloves
Each element is selected for durability under vibration and heat—conditions where ordinary bandages degrade quickly.

Understanding vehicle-specific risks and emergency scenarios
Common roadside emergencies — from minor cuts to major trauma
Your car is a dynamic environment. From tool-related injuries to rollovers, the spectrum of risk is wide. A comprehensive vehicle first aid kit should address three tiers of emergency:
- Minor injuries: cuts, abrasions, small burns.
- Moderate trauma: deep lacerations, sprains, heavy bleeding.
- Severe trauma: crush wounds, fractures, airway compromise.
Building your kit around these levels ensures you can scale your response rather than overpack.
Heat, vibration, and storage limits unique to car environments
Unlike home medicine cabinets, vehicle interiors can exceed 140°F (60°C). Adhesives, antiseptics, and elastic materials degrade under these temperatures. That’s why every FlareSyn vehicle first aid kit uses vacuum-sealed packaging and reinforced nylon shells.
Best practices include:
- Store kits away from direct sunlight.
- Inspect seals every three months.
- Rotate consumables annually.
By managing environmental stress, you keep your gear mission-ready.
Family vehicles vs work trucks vs off-road rigs — different priorities
No two vehicles are the same. Your setup depends on your routine:
- Family cars: focus on children’s safety—bandages, burn gel, motion-sickness tablets.
- Commercial drivers: prioritize trauma response—tourniquet, shears, reflective vest.
- Off-road or adventure vehicles: expand with splints, thermal blankets, and survival items.
FlareSyn offers modular kits that scale for each scenario, making it easy to adapt your vehicle first aid kit to your lifestyle.
Essential building blocks of an effective vehicle first-aid system
A well-prepared vehicle first aid kit is more than a collection of random items. To be truly effective, it must cover major trauma, everyday injuries, environmental challenges, and provide clear guidance for rapid response. Here’s how to structure your kit for maximum impact.
Trauma control gear — tourniquet, pressure bandage, hemostatic gauze
Bleeding control is the top priority in roadside emergencies. Major limb injuries can become fatal within minutes if untreated. Your vehicle first aid kit should include:
- Tourniquet (CAT or SOF-T style) — Designed for one-handed application. Mount it in a visible, accessible pocket of your pouch.
- Pressure bandage — Ideal for maintaining direct pressure on deep cuts or amputations.
- Hemostatic gauze (Z-fold or rolled) — Accelerates clotting for life-threatening wounds.
- Gloves — Nitrile or latex, to prevent contamination.
Pro tip: Place your tourniquet on the outer MOLLE strap of your pouch for instant access. Even a small delay can cost precious seconds during a critical bleed.
Everyday injury supplies — bandages, antiseptics, tweezers
Not all emergencies are severe, but even minor injuries require care. The vehicle first aid kit should include basic medical items for cuts, scrapes, and burns:
- Adhesive bandages — Multiple sizes for fingers, palms, and small cuts.
- Antiseptic wipes or solution — Prevents infection from roadside debris.
- Gauze pads — Sterile and ready for medium wounds.
- Tweezers and small scissors — Remove splinters or cut tape and clothing.
- Burn gel or hydrogel dressings — Especially useful for motorcyclists or vehicle overheating incidents.
Even though these items seem “minor,” they reduce infection risk and stabilize patients until professional care arrives. Boldly keeping them organized in labeled sections improves response time under stress.
Environmental add-ons — mylar blanket, gloves, cold packs, scissors
Environmental challenges can exacerbate injuries. A smart vehicle first aid kit anticipates these factors:
- Mylar blanket — Prevents hypothermia or shock in roadside accidents.
- Extra gloves — Protect responders during messy or chemical-related incidents.
- Cold packs — Reduce swelling and treat sprains or minor burns.
- Scissors or shears — Heavy-duty, capable of cutting clothing, seat belts, or rope.
- Light source — Small flashlight or chem-light for night emergencies.
Including these items ensures your kit remains versatile, not limited to basic trauma. They also improve comfort and safety during long waits for first responders.
Documentation & quick reference cards — how to label and organize
Even the best vehicle first aid kit fails if the responder cannot find the right item quickly. Proper labeling and documentation is essential:
- Quick reference cards — Laminated steps for tourniquet application, CPR, and wound packing.
- Color-coded compartments — Red for bleeding, blue for airway, green for minor care.
- Checklist insert — Track consumables and expiration dates.
- Instruction card for children or untrained passengers — Guides them to assist safely.
Organizing the kit systematically reduces stress, speeds up deployment, and ensures that even untrained users can access critical tools effectively.

Choosing the right FlareSyn kit as your foundation
Not every vehicle first aid kit is built equally. The type of kit you choose should match how you drive, where you travel, and who usually rides with you. FlareSyn offers a range of field-tested kits that blend durability, accessibility, and intelligent design—ideal for daily commuters and off-road adventurers alike.
Let’s break down how to choose the perfect FlareSyn setup for your vehicle and how to expand it with the right add-ons.
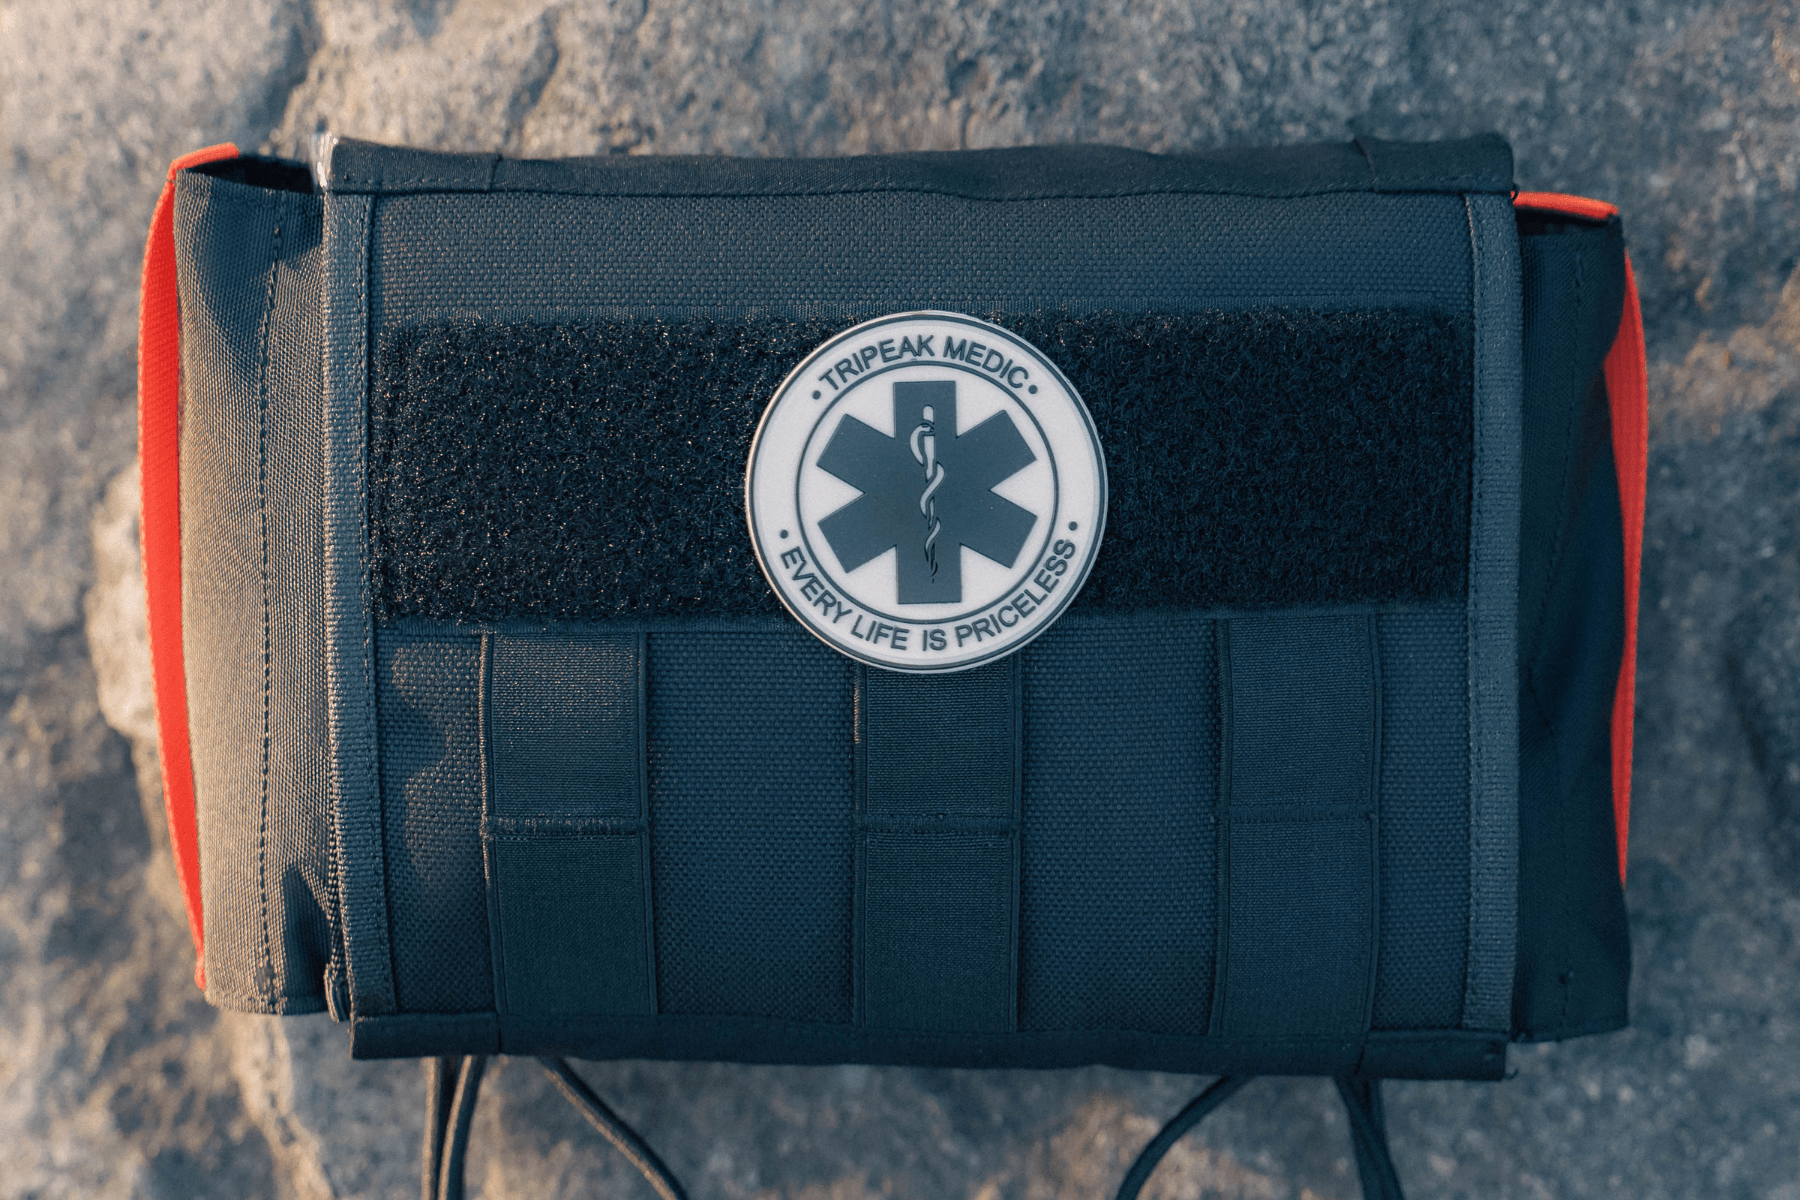
Overview of FlareSyn Car Trauma Kit — all-in-one emergency readiness
The FlareSyn Car Trauma Kit is designed as a comprehensive vehicle first aid kit that prioritizes stopping major hemorrhage and stabilizing casualties until help arrives. Key features include labeled compartments, an outer quick-access tourniquet pocket, and large trauma dressings. The kit ships with: tourniquet, hemostatic gauze, pressure dressing, chest seal, nitrile gloves, EMT shears, and a compact CPR barrier. Because the layout follows a “bleed → breathe → protect” logic, responders can find lifesaving items under stress. If you only buy one kit for your car, this is the practical, all-in-one option.
SE IFAK (Standard / Pro) — for trained responders or tactical setups
The SE IFAK line comes in Standard and Pro configurations. The Standard SE IFAK focuses on compact efficiency—tourniquet, hemostatic pack, and core airway tools—making it ideal for commuters who want med-grade capability in a small footprint. The Pro version expands contents (extra dressings, airway adjuncts, multiple tourniquets) and is meant for trained users such as security teams or off-road leaders. Choose SE IFAK Pro if you expect multi-casualty scenarios or operate in remote regions. Both models are MOLLE-compatible for vehicle mounting and integrate seamlessly into a layered vehicle system.
EDC Pouch — compact backup for glove box or personal carry
An EDC pouch functions as your personal, grab-and-go vehicle first aid kit—kept in the glove box or under a seat. It contains essentials for one responder: small tourniquet, compressed gauze, adhesive bandages, and nitrile gloves. For rideshare drivers or family members, an EDC pouch offers immediate, close-range response while the larger vehicle kit is retrieved. Because it’s small, it also doubles as a personal IFAK for hikers who step away from the car.
How to layer kits together for complete coverage
Layering provides redundancy and speed: keep an EDC pouch within arm’s reach, a Car Trauma Kit in the trunk or under-seat for major events, and an SE IFAK Pro in vehicles used for long-distance or remote work. Example layering strategy:
- EDC: immediate, 30–60 second access.
- Car Trauma Kit: full response within 1–2 minutes.
- SE IFAK Pro: reserve for complex or multi-casualty incidents.
Kit Name
Contents (high level)
Best Use
Size
Price Range
| FlareSyn Car Trauma Kit | Tourniquet, hemostatic gauze, chest seal, bandages, shears | Family/vehicle all-in-one | Medium | $$–$$$ |
| SE IFAK (Standard/Pro) | Tourniquets, airway adjuncts, extra dressings | Tactical/remote responders | Small–Medium | $$–$$$$ |
| EDC Pouch | Mini tourniquet, compressed gauze, gloves | Commute/glovebox personal carry | Small | $–$$ |
What to add beyond the base kit (personalization tips)
For family cars — kids’ meds, adhesive bandages, mini tweezers
Families should include pediatric supplies: small adhesive bandages, child-safe pain relievers, a thermometer, and mini tweezers for splinters. A laminated kid-care card (allergies, emergency contact) is invaluable. Keep items in a labeled, child-proof pouch inside the main kit.
For commercial drivers — trauma shears, extra gloves, reflective vest
Commercial drivers should prioritize durability and compliance: extra nitrile gloves, heavy-duty trauma shears, mass casualty supplies (an extra tourniquet or two), and a reflective vest for roadside safety. Pack a logbook to record incidents for company reporting.
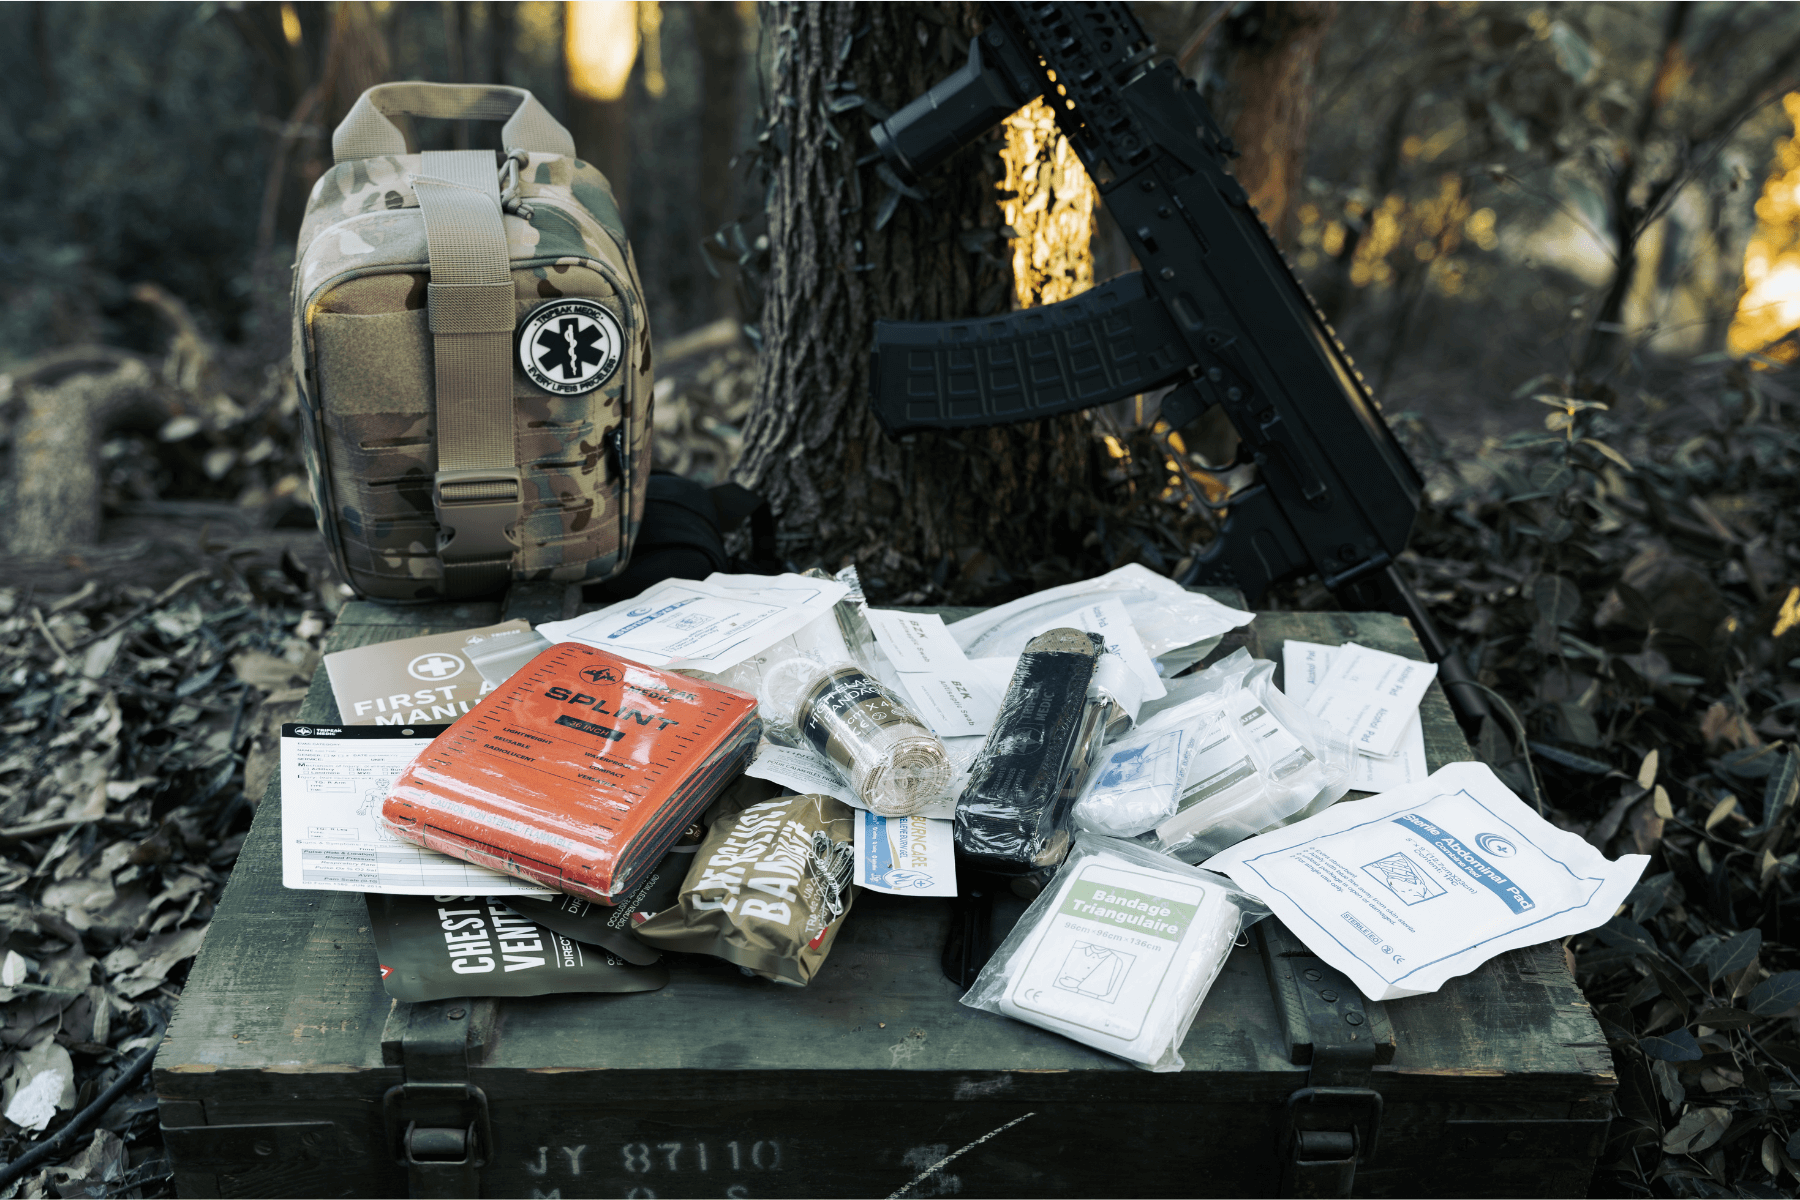
For outdoor adventurers — splint, water purification tabs, tick remover
Off-road rigs need wilderness additions: a SAM splint, water purification tabs, tick removal tools, and a compact signaling device. These items turn a vehicle kit into a multi-day survival system when help may be hours away.
For first responders — airway adjuncts, extra tourniquet, chest seals
Trained responders should upgrade kits with airway adjuncts (NPA/OPA), multiple tourniquets, chest seals, and advanced airway tools as allowed by local scope of practice. Label these as “Responder Tools” to prevent accidental misuse by untrained passengers.
Where and how to store your kit safely in the vehicle
Optimal placement — seatback mounts, trunk bags, under-seat trays
Optimal placement depends on access needs: keep an EDC pouch within the driver’s reach (door pocket/seatback) and a larger trauma kit in the trunk or under-seat tray. Seatback mounts and MOLLE panels allow quick retrieval without unloading cargo.
Heat and moisture management — keeping medical items viable
High heat degrades adhesives and sterility. Use insulated containers or hard-shell cases for consumables that are heat-sensitive. Rotate heat-sensitive items seasonally and store the main kit out of direct sun.
Fast accessibility vs theft protection — finding the balance
High-visibility mounts improve response time but can invite theft. Balance by keeping the most critical items (tourniquet, hemostatic gauze) in a quick-access yet concealed pouch; store higher-value or bulk items in locked compartments.
Maintenance, restocking, and expiration checks
Quick inspection routine — monthly and seasonal reminders
Perform a quick checklist monthly: check seals, glove integrity, and tourniquet function. Seasonally (every 3 months) inspect dressings and adhesives. Add calendar reminders and a visible checklist inside the kit.
What expires fastest and needs replacement
Hemostatic agents, adhesive medications, and certain dressings have the shortest shelf lives. Replace heat-exposed items more frequently—annually is a good baseline for high-use vehicles.
How to restock FlareSyn consumables and parts conveniently
FlareSyn offers refill packs for gauze, gloves, and tourniquets; subscribe to refill bundles on the product page for automated restocking. Keep a small inventory list inside the kit so you can reorder promptly after use.
Training and readiness — knowing how to use what you carry
Practice drills with tourniquets and bandages
Run monthly practice drills: one-handed tourniquet application, wound packing, and pressure dressing. Time your application to improve speed and confidence.
Recommended online and in-person trauma courses
Enroll in basic bleeding control and first-aid courses from recognized providers (e.g., American Red Cross, Stop the Bleed). For advanced IFAK skills, consider tactical casualty care training.
Why confidence matters more than quantity of gear
A well-trained responder with a minimal vehicle first aid kit can outperform an untrained person with a fully stocked bag. Practice trumps inventory—train regularly and keep your kit simple and accessible.

Build your own setup today — simple steps to get started
Creating your own vehicle first aid kit doesn’t have to be complicated. Whether you’re preparing for a quick commute, a family road trip, or a backcountry journey, FlareSyn’s modular kits make it simple to start and customize. Follow these three steps to build a reliable, organized, and field-tested setup that’s always ready when you need it most.
Step 1: Choose your FlareSyn base kit
Your base determines your readiness. FlareSyn offers three vehicle first aid kit foundations designed for different lifestyles:
- EDC Compact Kit — Ideal for daily commutes or city drivers. It’s slim, MOLLE-compatible, and fits under a seat or in a glove box.
- Car Trauma Kit — Designed for family or shared vehicles. Includes advanced trauma gear like a CAT tourniquet and emergency dressings.
- SE IFAK Pro — Built for remote or professional use (truckers, guides, or responders). Features waterproof pouches, advanced splints, and modular add-ons.
🟢 Pro Tip: Match the kit size to your vehicle type and passenger count. A compact sedan might need only the EDC, while an SUV or RV benefits from the full trauma setup.
Step 2: Add personalized items from our checklist
Even the best base kit can be improved with personal touches. Use our FlareSyn customization checklist to make sure your vehicle first aid kit covers everyone who rides with you.
Add-ons to consider:
- 👶 Pediatric module: bandages, small gloves, mild antiseptics, and chewable pain relief.
- 🦴 Splints & wraps: SAM splints or elastic wraps for fractures and sprains.
- 🚚 Commercial driver bundle: eye wash, reflective vest, and additional burn dressings.
Step 3: Train, test, and store it right
A vehicle first aid kit is only effective if it’s functional and familiar. Take time to learn your tools and maintain your setup.
✅ Monthly checks: Inspect expiry dates, restock used items, and clean containers.
✅ Practice drills: Simulate applying a tourniquet or pressure dressing. It builds speed and confidence in emergencies.
✅ Storage tips:
- Keep your kit in a temperature-stable area (e.g., under-seat or rear trunk).
- Use color-coded modules or labels for quick recognition.
- Add a quick-reference card in the top pouch for first-time responders.
Related Readings


Dejar un comentario
Este sitio está protegido por hCaptcha y se aplican la Política de privacidad de hCaptcha y los Términos del servicio.