
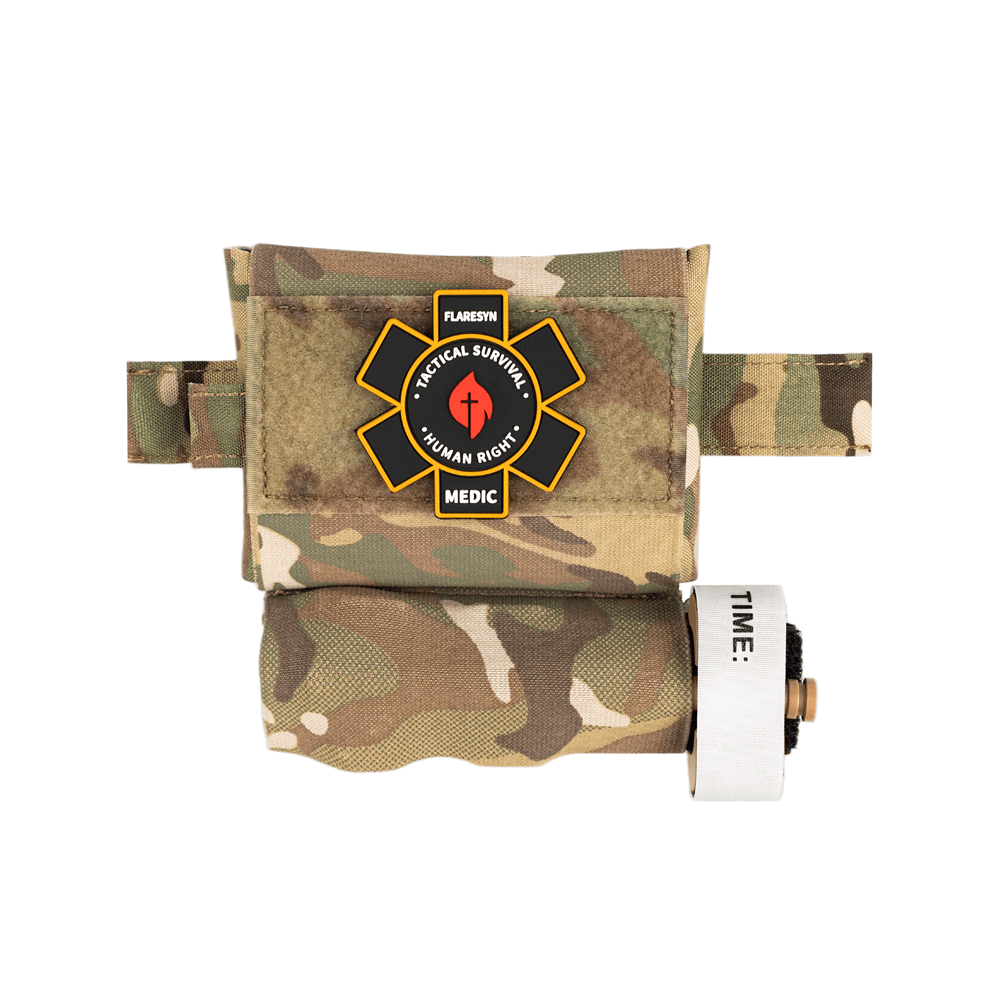
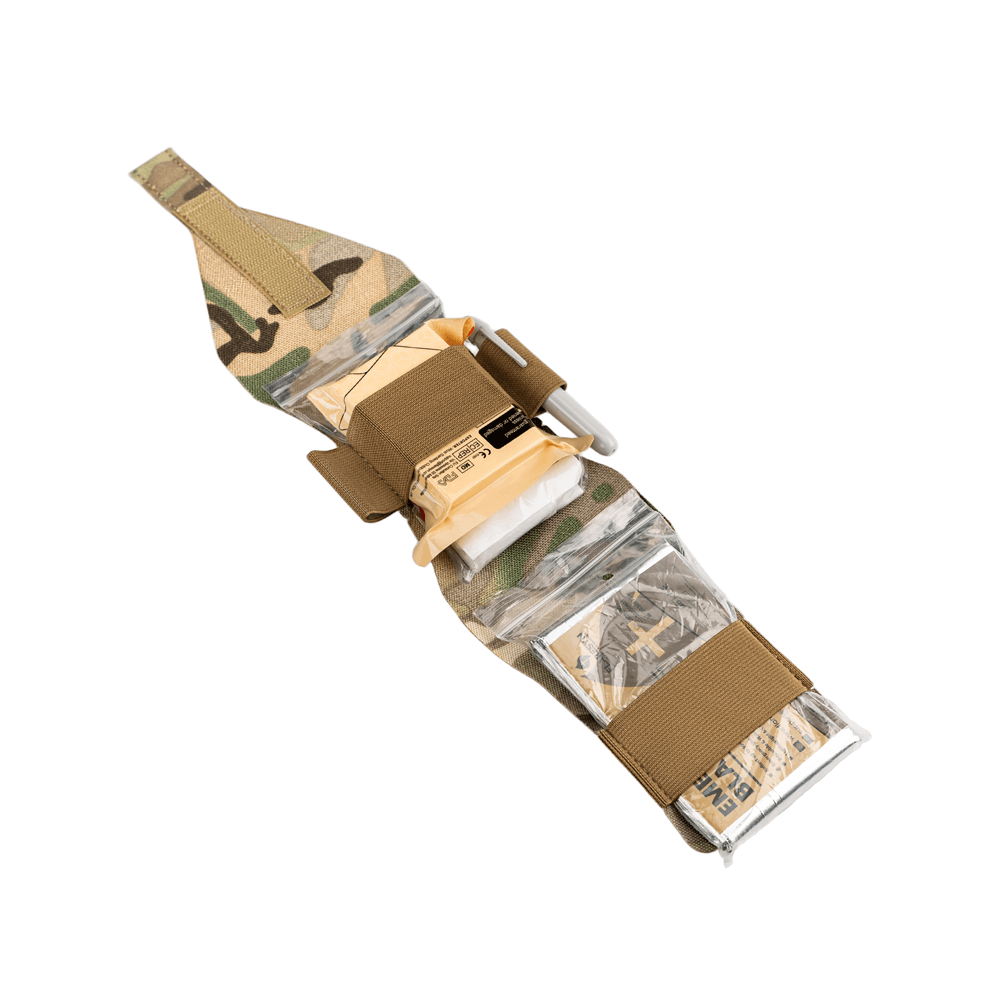
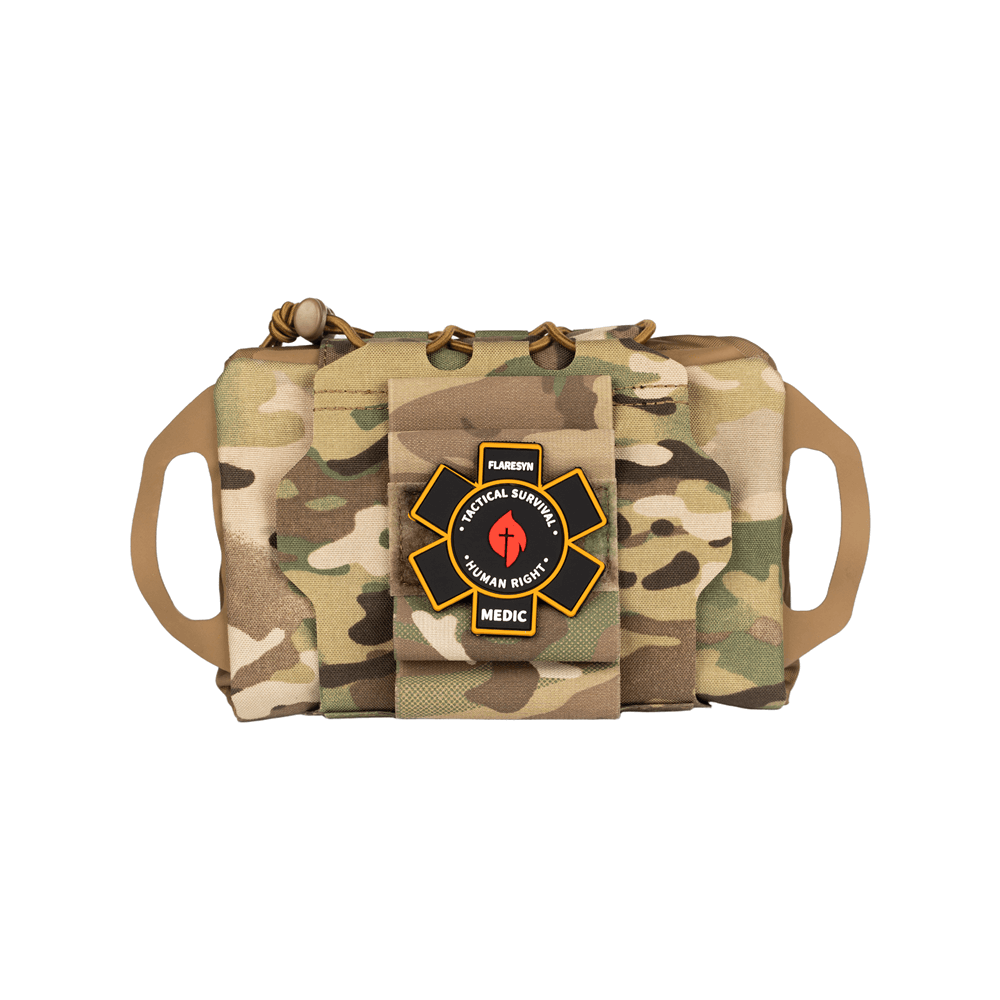
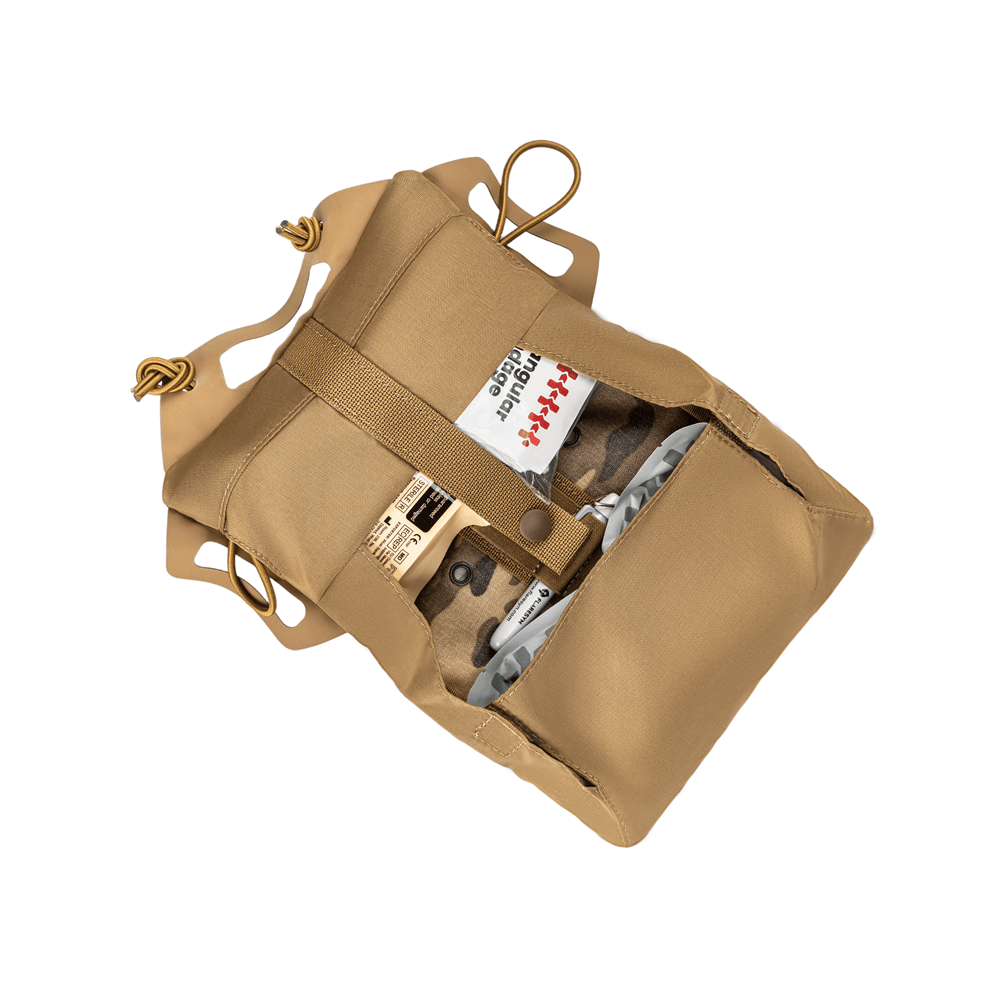
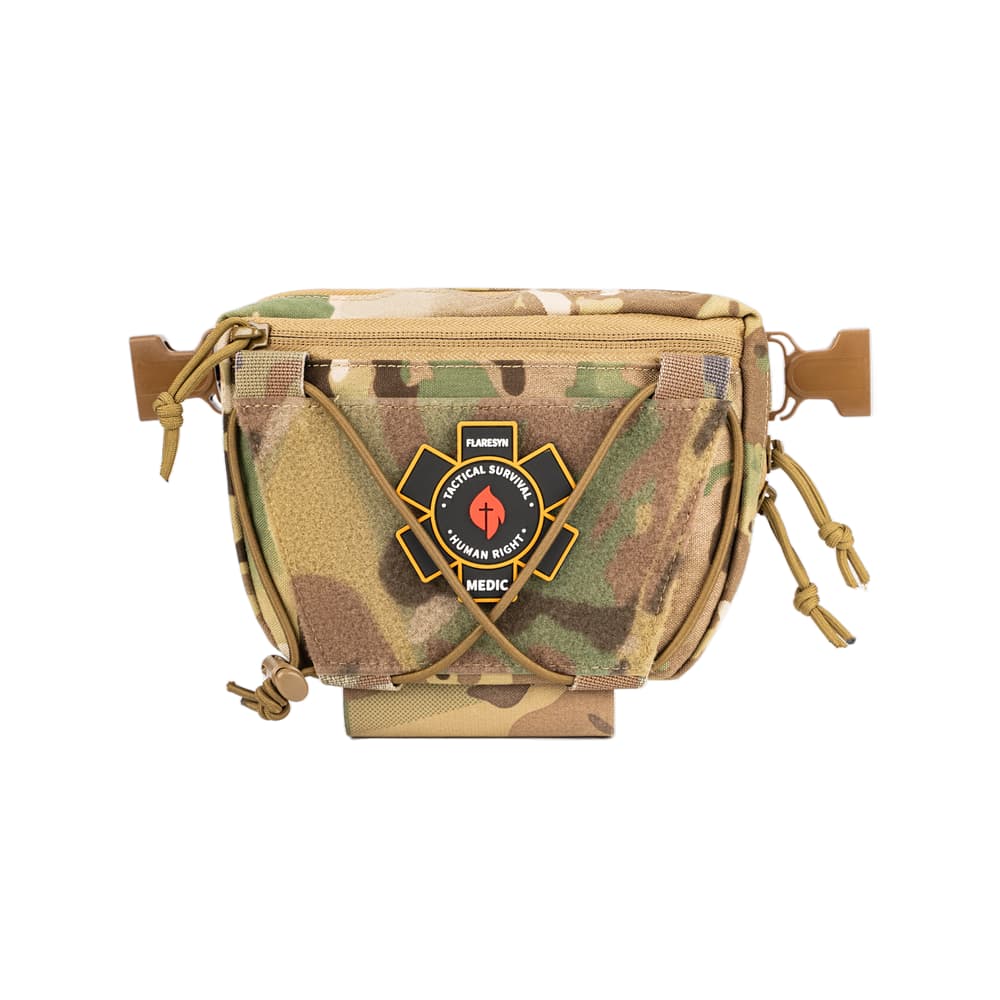
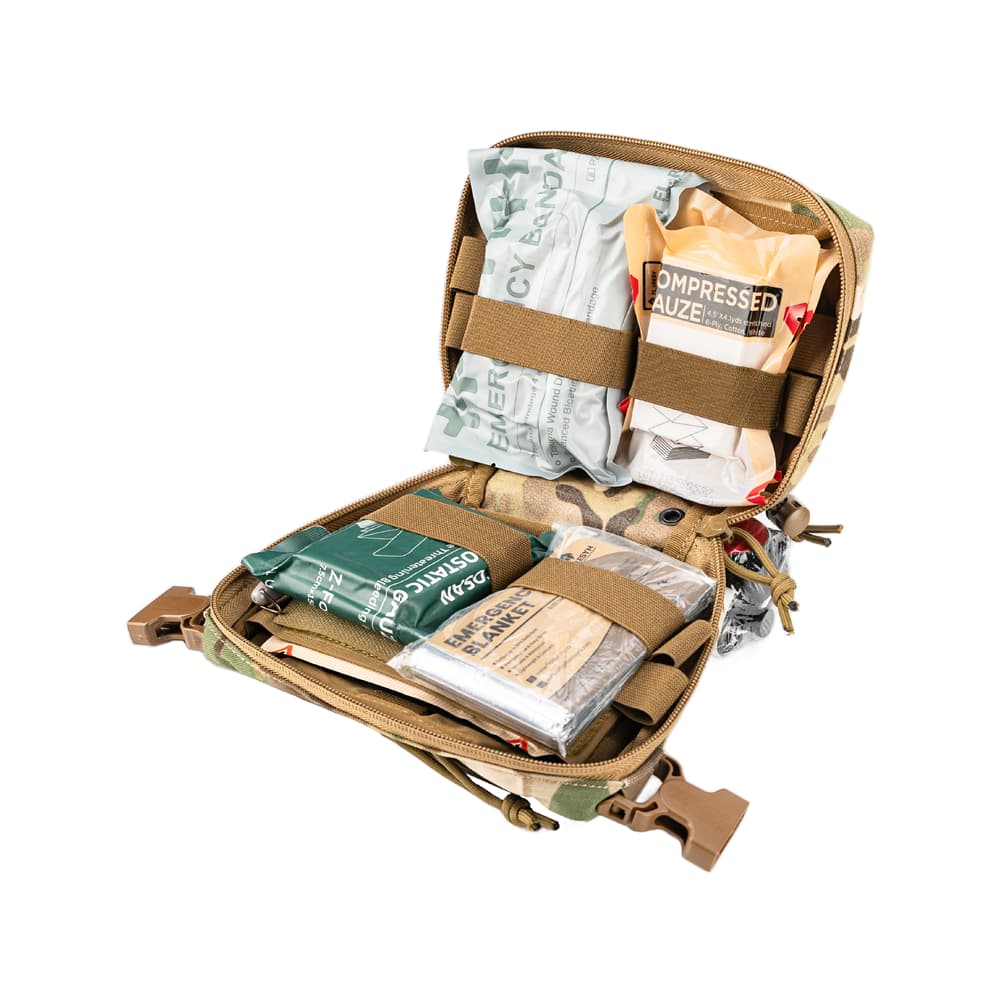
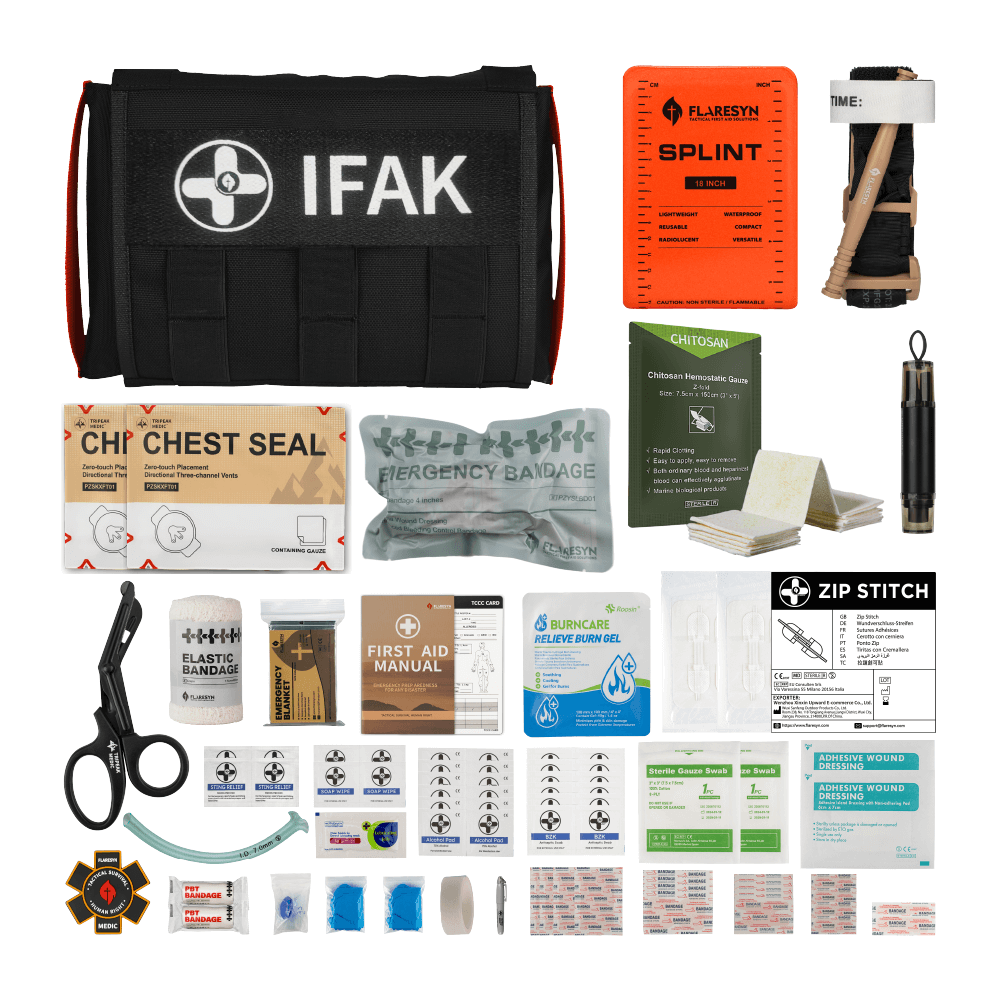
Flaresyn: Professional Tactical Medical Kits & IFAK Supplies
Engineered for specific operational environments. Lightweight, modular, and ready to protect lives in any high-risk scenario.
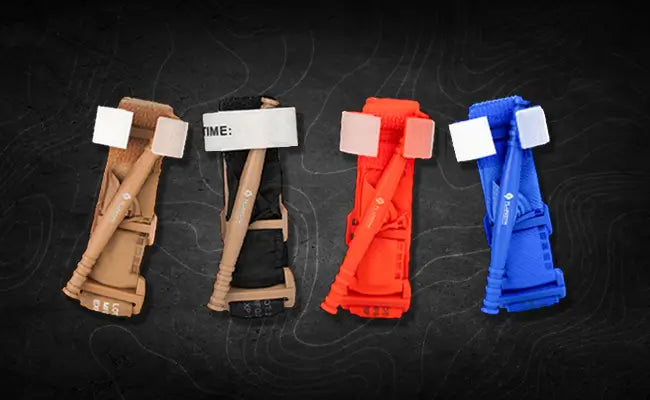
Choose Your Field


NOT SURE WHERE TO START?
Browse our complete line of field-tested trauma kits and medical supplies. Built for reliability when seconds count.

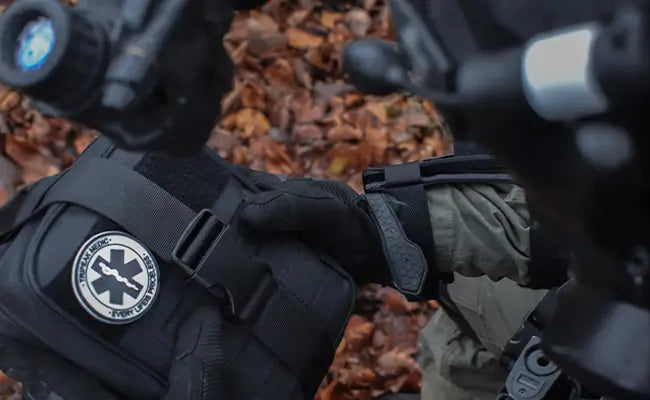
FIELD REPORT
REAL INCIDENT. REAL SURVIVAL.
When C. Smyth sustained a severe leg laceration from a CNC lathe, every second mattered. Using our Wound Closure Strips, he stabilized the injury and stopped the bleeding in under a minute.
Arriving paramedics confirmed the strips were critical in preventing dangerous blood loss during the 20-minute transport, praising the immediate response.
As Smyth put it: 'I will never hesitate to carry this gear again.'

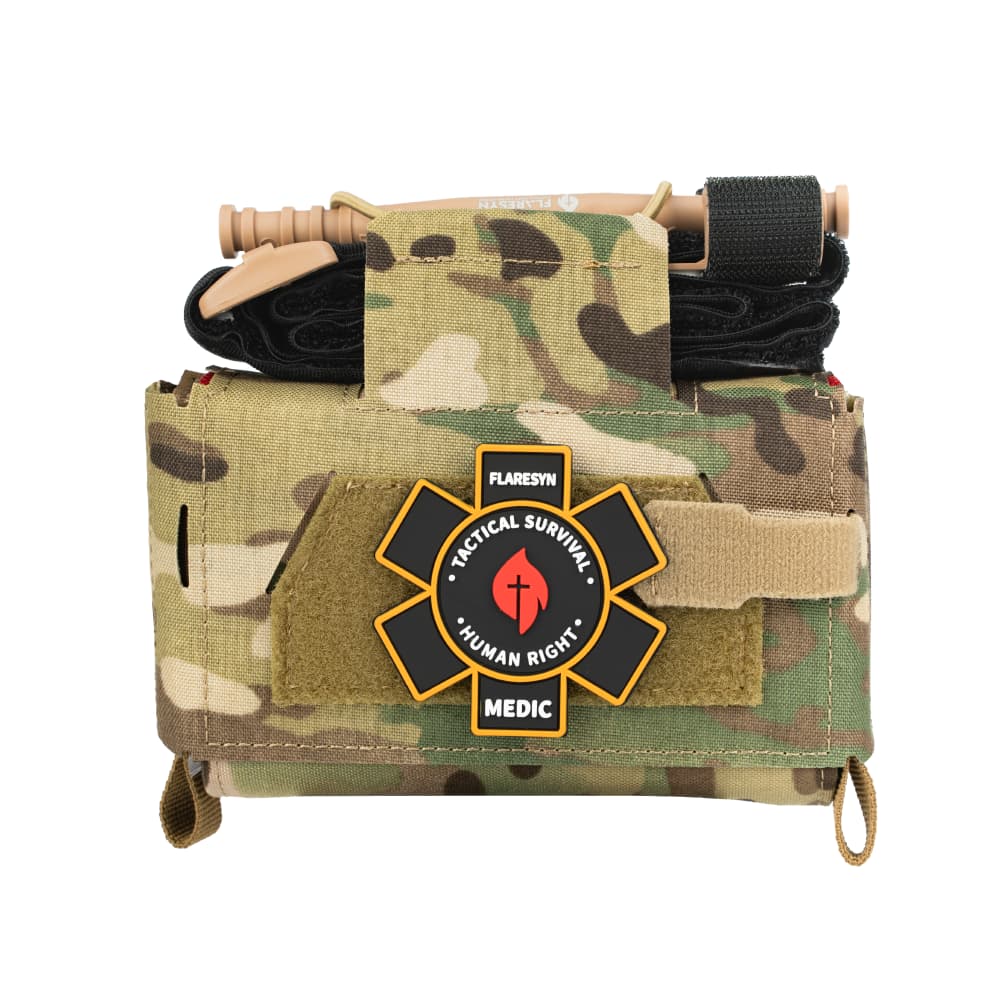
MISSION-READY RELIABILITY
IRONCLAD DEPLOYMENT GUARANTEE:
From secure checkout to field deployment, we stand behind our gear. Your readiness and survival are our ultimate responsibility.

FRONTLINE INTEL: TACTICAL MEDICAL DISPATCHES
Beyond the Band-Aid: Why Your Family Vacation Needs a Professional Trauma Plan
The Protected Journey: Advanced Family Trauma Planning Beyond the Band-Ai...
En savoir plus
The MARCH Protocol: A Civilian Guide to Managing Trauma Under Pressure
🛡️ Written by: Elias.H.Hwang (Certified NAEMT Member) | 🔬 Medically Reviewed by: Dr. Alan Hastings, TCCC Certified Instructor / Paramedic Expert on April 27, 2026. ...
En savoir plus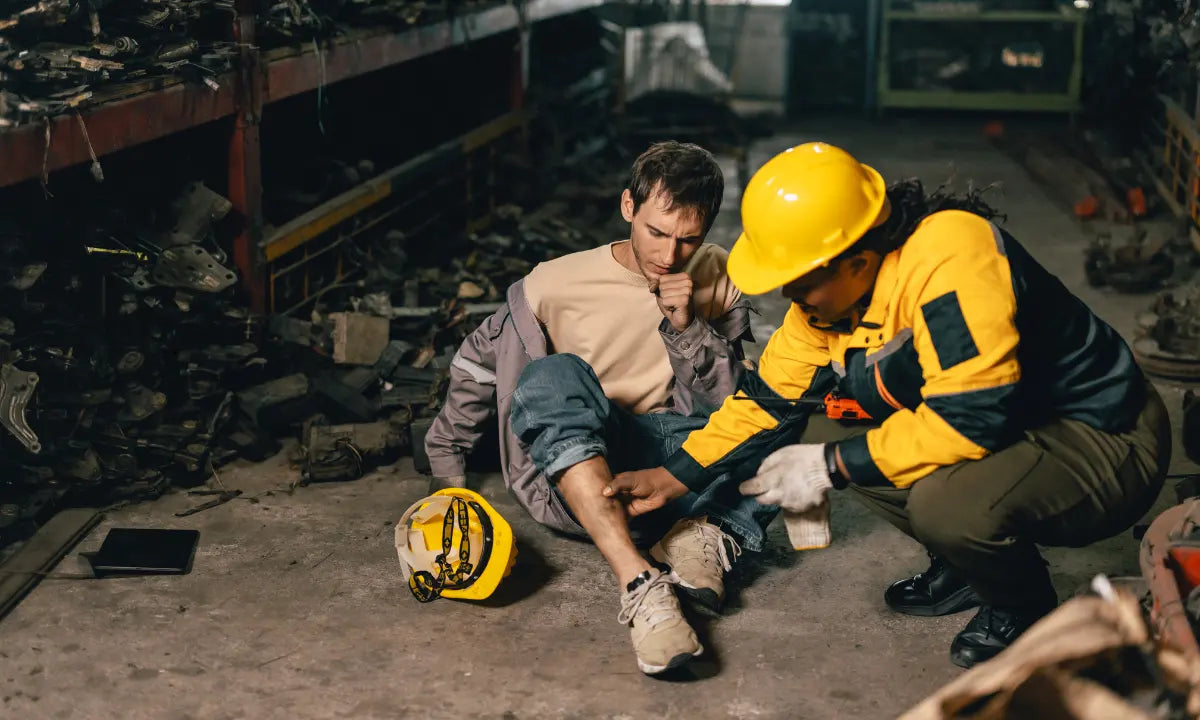
Survival Strategy Guide: Core Sections Why Ointments and Band-Aids Fail W...
En savoir plus
Beyond the Tourniquet: Comprehensive Wound Packing Techniques for Severe Hemorrhage in 2026
Quick Navigation: What You Will Learn The Physiology of Bleeding: Underst...
En savoir plusWHAT OUR CUSTOMERS SAY
Trusted by thousands of happy customers
"Replaced my department-issued IFAK with this setup. The modular layout is highly intuitive, and the tourniquet accessibility is flawless under pressure. Highly recommend for any patrol officer."
"Quality stitching and legit medical components. I've seen cheap knock-offs fail in the field, but this kit holds up to the highest standards. Kept one on my rig and just ordered a second for my wife's trunk."
"I run these kits during live-fire training courses. The gear is rugged, reliable, and exactly what you need when seconds count. Absolute mission-critical equipment that I trust with my life."