

Child Choking First Aid: Heimlich Maneuver and Back Blows, A Parent Guide
Quick Navigation
Why Child Choking Is More Dangerous Than Adult Choking
A child's airway is narrower, shorter, and more easily compressed than an adult's. Objects that would cause only discomfort in a grown person — a grape, a coin, a small toy part — can completely block a toddler's trachea. This is why child choking first aid is not just an adult technique scaled down. It is a distinct skill set with age-specific methods that account for the anatomical differences between infants, toddlers, and older children.
Children also explore the world with their mouths. Between the ages of six months and four years, mouthing behavior is developmentally normal. The risk period for airway obstruction is long, and a parent or caregiver who understands child choking first aid becomes the child's most important line of defense during this window of heightened vulnerability.
The physics of a small airway also means partial obstruction can become complete without warning. An object that shifts position can turn a coughing child into a silent, blue-faced one in seconds. Knowing the response protocol means recognizing that transition and acting without hesitation. The shift from partial to complete obstruction is the single most dangerous moment in a choking event, and the responder's speed in that moment often determines the outcome.
This guide is educational and does not replace a certified CPR course. After any choking incident where abdominal thrusts or back blows were used, the child should be evaluated by a medical professional even if the object was expelled. Always call emergency services for a severe event.


How to Recognize Real Choking vs Coughing
- The first decision in any responseis whether the child is truly choking or just coughing forcefully. These situations are managed differently, and acting on the wrong assumption can make things worse.
Signs of Severe Airway Obstruction (Act Now)
- · The child cannot speak, cry, or make sounds
- · The child cannot cough or the cough is silent
- · The child is clutching the throat (the universal choking sign)
- · Lips or nail beds are turning blue or dusky
- · The child is losing consciousness
-
Signs of Mild Airway Obstruction (Encourage Coughing)
- · The child can cough forcefully
- · The child can make sounds or speak between coughs
- · Breathing is noisy but present
If the child is coughing effectively, do not interfere. Encourage continued coughing. Stay close and monitor. The cough is more effective at dislodging the object than any external technique. When coughing stops working and the child cannot breathe, child choking first aid begins immediately.


Infant Choking Response (Under 1 Year)
For infants under one year, child choking first aid uses back blows combined with chest thrusts. The Heimlich maneuver is not used on infants because their internal organs are too small and fragile for abdominal pressure. The technique requires a firm surface — your forearm — and a head-down position that uses gravity to help dislodge the obstruction.
Step-by-Step: Back Blows
- 1. Sit and position the infant face-down along your forearm. Support the head and jaw with your hand, keeping the head lower than the chest. Rest your forearm on your thigh.
- 2. Deliver 5 firm back blows. Use the heel of your free hand to strike between the shoulder blades. Each blow should be a separate, deliberate effort.
Step-by-Step: Chest Thrusts
- 1. Turn the infant face-up along your forearm. Support the head while keeping it lower than the chest.
- 2. Deliver 5 chest thrusts. Place two fingers on the center of the chest, just below the nipple line. Push down firmly about 1.5 inches.
- 3. Repeat the cycle. Alternate 5 back blows and 5 chest thrusts until the object is expelled or the infant becomes unresponsive.
Critical Precaution
Never perform abdominal thrusts on an infant. Never hold an infant upside down. Do not reach blindly into the mouth — you could push the object deeper. Only perform a finger sweep if you can see the object clearly. These precautions are a core part of infant airway management and exist because the infant airway is so small that even a minor manipulation can shift an object into a worse position.
Child Heimlich Maneuver (Over 1 Year)
For children over one year, the method is the Heimlich maneuver, also called abdominal thrusts. The child choking first aid approach for this age group follows the standard sequence below.
Step-by-Step: Heimlich for Children
- 1. Stand or kneel behind the child. For a small child, kneel to position yourself at their level. Wrap your arms around the waist.
- 2. Make a fist with one hand. Place the thumb side against the abdomen, just above the navel and well below the breastbone.
- 3. Grasp the fist with the other hand. Pull inward and upward in a quick, forceful motion.
- 4. Deliver up to 5 abdominal thrusts. Check after each whether the object has been expelled.
- 5. Continue until the object is expelled or the child becomes unresponsive.
If the Child Becomes Unresponsive
If consciousness is lost, lower the child to a firm surface and begin CPR. Each cycle of chest compressions may move the object. Check the mouth before giving breaths. Call emergency services immediately. The response protocol shifts to CPR immediately when the child goes limp — do not continue abdominal thrusts on an unconscious victim.
Child Choking First Aid: What to Do vs What Not to Do
The following checklist is a quick reference for the response:
Do |
Do Not |
Encourage coughing if the child can cough |
Slap the back of a coughing child |
Call emergency services for severe obstruction |
Wait to see if it resolves |
Use back blows for infants |
Use abdominal thrusts on infants |
Look before sweeping the mouth |
Perform a blind finger sweep |
Continue thrusts until expelled |
Stop after one or two thrusts |
Seek medical evaluation after any event |
Assume the child is fine once the object is out |
Home First Aid Kit Essentials for Families
A home that is ready for an airway emergency also needs a well-stocked emergency kit. The following items are especially relevant for families with young children:
- · Bulb syringe or infant airway-clearing device for newborns
- · Pediatric assessment tools such as thermometer and pulse oximeter
- · Small-gauge suction device for oral secretions
- · Basic wound care supplies because the same curious hands that choke also scrape knees
- · Emergency contact card with pediatrician number and local poison control
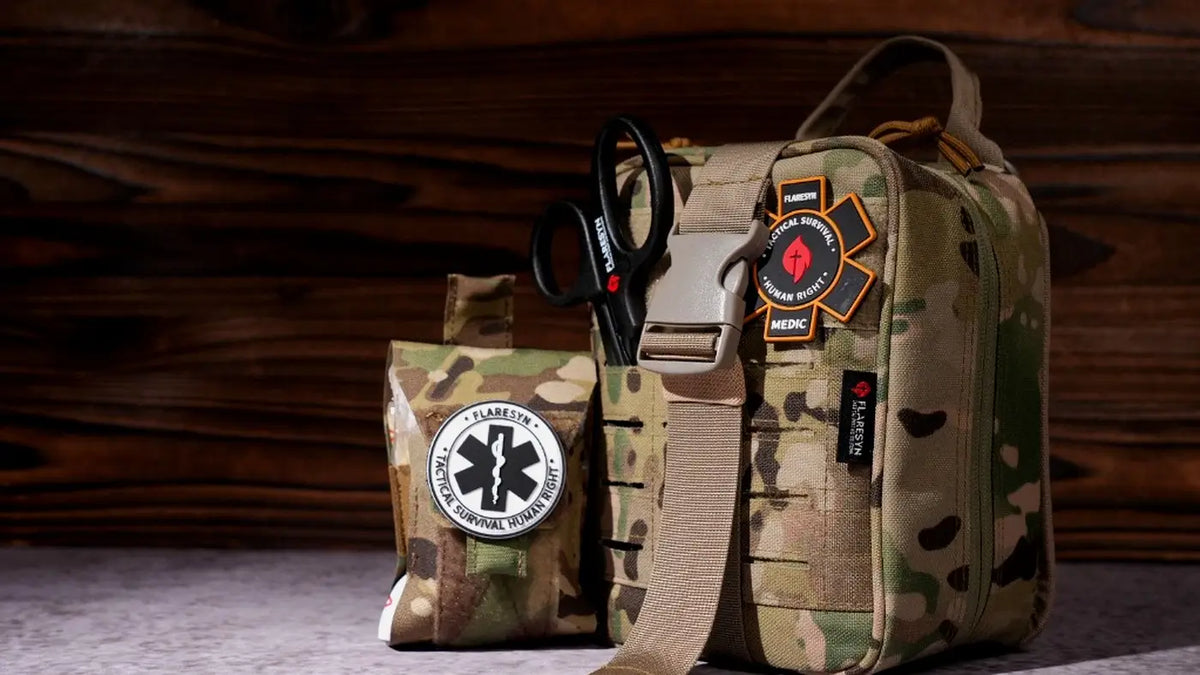
A FlareSyn Compact Tactical Trauma IFAK provides a solid foundation for home readiness. For outdoor family activities, the FlareSyn Outdoor collection offers weather-resistant options. The FlareSyn best-seller lineup works well as a shared household response package.
Knowing the protocol is about more than technique. It is about having the supplies, the plan, and the muscle memory to act when the room goes silent.
Post-Rescue Observation and When to Go to Hospital
Even if you successfully expel the object, the process is not over. Abdominal thrusts and chest thrusts can cause internal injury. The child should be evaluated by a medical professional after any significant event. This is a non-negotiable part of responsible pediatric emergency care.
Go to the Hospital Immediately If
- · The child was unresponsive at any point
- · Abdominal thrusts were used
- · The child has difficulty breathing or persistent coughing after the object was expelled
- · The object may have been inhaled rather than swallowed
- · You are unsure whether the object was fully expelled
Watch for Delayed Symptoms
- · Persistent drooling or difficulty swallowing
- · Voice changes or persistent hoarseness
- · Fever or chest discomfort developing within 48 hours
The response does not end when the object comes out. It ends when a medical professional confirms the child is safe. Even when the child appears completely recovered, a thorough evaluation is essential because minor internal injuries from abdominal thrusts may not show symptoms immediately.
Practice Drills for Parents
The most effective response is the kind you have rehearsed. Pressure, confusion, and fear all degrade performance. Practice builds the neural pathways that take over when conscious thought slows down.
Home Practice Routine
- · Use a clean infant dummy or rolled towel to rehearse back-blow positioning
- · Practice the fist technique for abdominal thrusts on a pillow at child height
- · Review the decision tree monthly: can the child cough? If yes, encourage. If no, act.
- · Keep emergency numbers posted on the refrigerator and inside your kit
Do not practice these techniques on a real infant or child. Use a training model to avoid causing harm. Keep your live kit fully stocked and separate from your training equipment. The discipline you build now pays off when the real moment comes and every second counts.
The emotional dimension of a choking event cannot be overstated. Parents who have lived through a severe choking incident often describe a sensation of time slowing down, combined with an overwhelming sense of helplessness. This is exactly why rehearsing the steps in advance matters so deeply. When the mind has already walked through the sequence — even on a dummy or a pillow — the body responds with purpose rather than panic. The few seconds saved by muscle memory can be the difference between a full recovery and a tragic outcome.
Another factor worth considering is the physical environment where choking events typically occur. The majority of pediatric choking incidents happen at the dining table, in the car, or during playtime on the floor. Each of these settings presents different challenges: a restaurant booth may not allow enough space to stand behind a child, a moving vehicle requires pulling over safely first, and a cluttered playroom floor may not provide a firm surface for CPR if the child loses consciousness. Thinking through these scenarios in advance helps you adapt the standard technique to real-world conditions.
It is also important to understand the limitations of home interventions. While back blows and abdominal thrusts can dislodge an obstruction, they cannot address complications such as aspiration of smaller fragments into the lower airway, soft tissue swelling that narrows the airway after the object is removed, or delayed pneumonitis from certain food materials. This is why medical evaluation after any significant event is not optional — it is the closing chapter of the response, not an afterthought.
Conclusion
Every parent hopes this skill is one they never need. But silence is the sound of a blocked airway, and seconds matter. Understanding the difference between mild and severe obstruction, knowing the age-specific techniques for infants versus children, and rehearsing the steps before an emergency happens are what make the difference.
Carry a properly stocked emergency kit. Know your emergency numbers. Practice the technique on a model, not a child. And after any serious event, seek medical evaluation even if the object came out. The goal is not just to expel the obstruction. It is to protect the child before, during, and after the crisis. That is what true readiness means.
Q: If my child is coughing loudly, should I start abdominal thrusts?
A: No. Forceful coughing is the body's best attempt to clear the airway. Encourage the child to keep coughing. Only begin intervention if the child cannot cough, speak, or breathe.
Q: Should I do a finger sweep if I think something is stuck?
A: Only perform a finger sweep if you can clearly see the object. A blind sweep can push it deeper.
Q: Does the child need a doctor even if the object came out?
A: Yes. After any event requiring back blows or abdominal thrusts, the child should be evaluated to rule out internal injury.
Q: Can I use the same Heimlich technique on a toddler and a teenager?
A: The technique is the same, but positioning differs. Kneel behind a small child and adjust height so the upward thrust follows the natural axis of the airway.


Elias.H.Hwang
Elias H. Hwang is a tactical medicine expert and lead contributor at FlareSyn. He specializes in emergency trauma protocols and preparedness education, helping civilians and professionals alike master the tools and skills needed to save lives in critical moments.


Dejar un comentario
Este sitio está protegido por hCaptcha y se aplican la Política de privacidad de hCaptcha y los Términos del servicio.