Artículo: Vehicle Trauma Kit Maintenance
Vehicle Trauma Kit Maintenance
Vehicle Trauma Kit Maintenance
Buying the kit is the start of the job
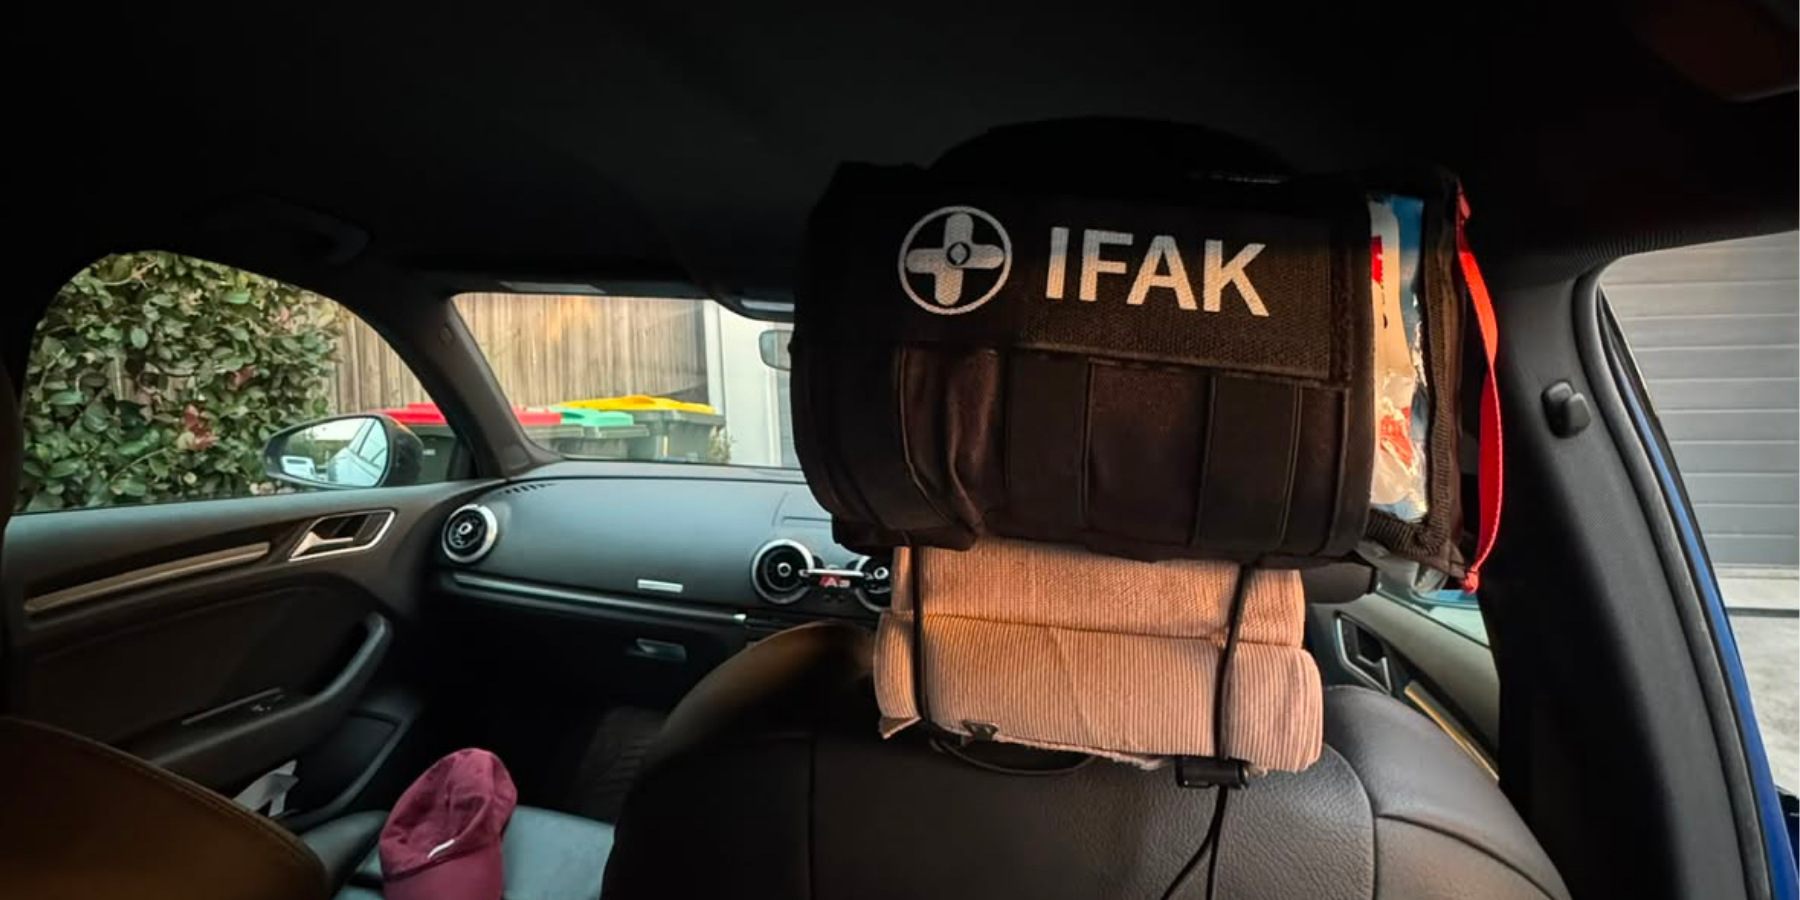
The day you install a trauma kit in your vehicle feels like the moment you become prepared. You choose a pouch, arrange the contents, find a mounting point, and promise yourself it will be there if something goes wrong. Then months pass. Summer heat builds inside the cabin. Winter cold follows. Cargo shifts. A child borrows a pair of gloves. A training session opens a package. The kit remains on the headrest, but its readiness quietly changes.
That is why vehicle trauma kit maintenance matters. A trauma kit is not a sealed trophy. It is a working system exposed to one of the harshest everyday storage environments: a moving vehicle. Heat, cold, UV exposure, vibration, moisture, dust, spills, compression, and ordinary human forgetfulness can all erode reliability.
The fix is not complicated. Build a short, repeatable inspection routine and use it before long trips, after real use, after training, and at least once per season. The goal is to make sure the kit you believe you own is the kit you can actually use when the first minute becomes chaotic.
This guide is educational and does not replace medical advice, product instructions, or qualified training. Call emergency services for serious injuries and use medical equipment only within your training and applicable local guidance.
Why vehicles are hard on emergency supplies
Unlike a climate-controlled closet, a car spends its life changing environments. In summer, a parked cabin can become extremely hot. In winter, temperatures can drop sharply overnight. A kit may ride through potholes, sit under direct sunlight, get pressed beneath a jacket, or absorb moisture from a wet passenger. Each exposure may seem minor. Over time, the combination matters.
Vehicle heat can be particularly hard on adhesives, elastic materials, gloves, and sterile packaging. Cold can make some materials stiff and less pleasant to handle. Vibration can loosen mounting straps, migrate small items through compartments, and turn an organized pouch into a noisy cluster. Moisture and spills can damage paper wrappers, labels, and fabric. UV can fade identifiers and weaken exposed materials.
You do not need to become a laboratory technician to manage these risks. You do need to look at the kit deliberately rather than assuming that a closed zipper proves readiness.
The false confidence of an untouched pouch
An untouched kit may look perfect from the outside while missing key capability inside. Perhaps the gloves were removed for a messy repair. Perhaps a sterile item was opened for demonstration and pushed back into place. Perhaps the tourniquet was used repeatedly in practice. Perhaps a cargo bag crushed the pouch and bent or damaged its contents. Perhaps an item is now past its labeled date.
Vehicle trauma kit maintenance protects against this false confidence. It creates a regular moment to confirm the layout, replace compromised items, and remember how the system is supposed to work.
The four-part seasonal readiness check
Use this routine before a long drive or at the beginning of each season. It takes only a few minutes when the kit is organized.
1. Check access and mounting
Begin outside the pouch. Is the kit still where every regular passenger expects it to be? Can it be detached without a tool? Are straps, hook-and-loop panels, buckles, or mounting hardware secure? Has a child seat, cargo organizer, or seat cover blocked the release path?
Sit in the driver’s seat with the seatbelt on. Ask a passenger to find the kit. If either of you has to search, the system has drifted. A vehicle trauma kit should be visible enough to direct with one short instruction and secured enough to stay in place during normal driving.
2. Inspect packaging and critical supplies
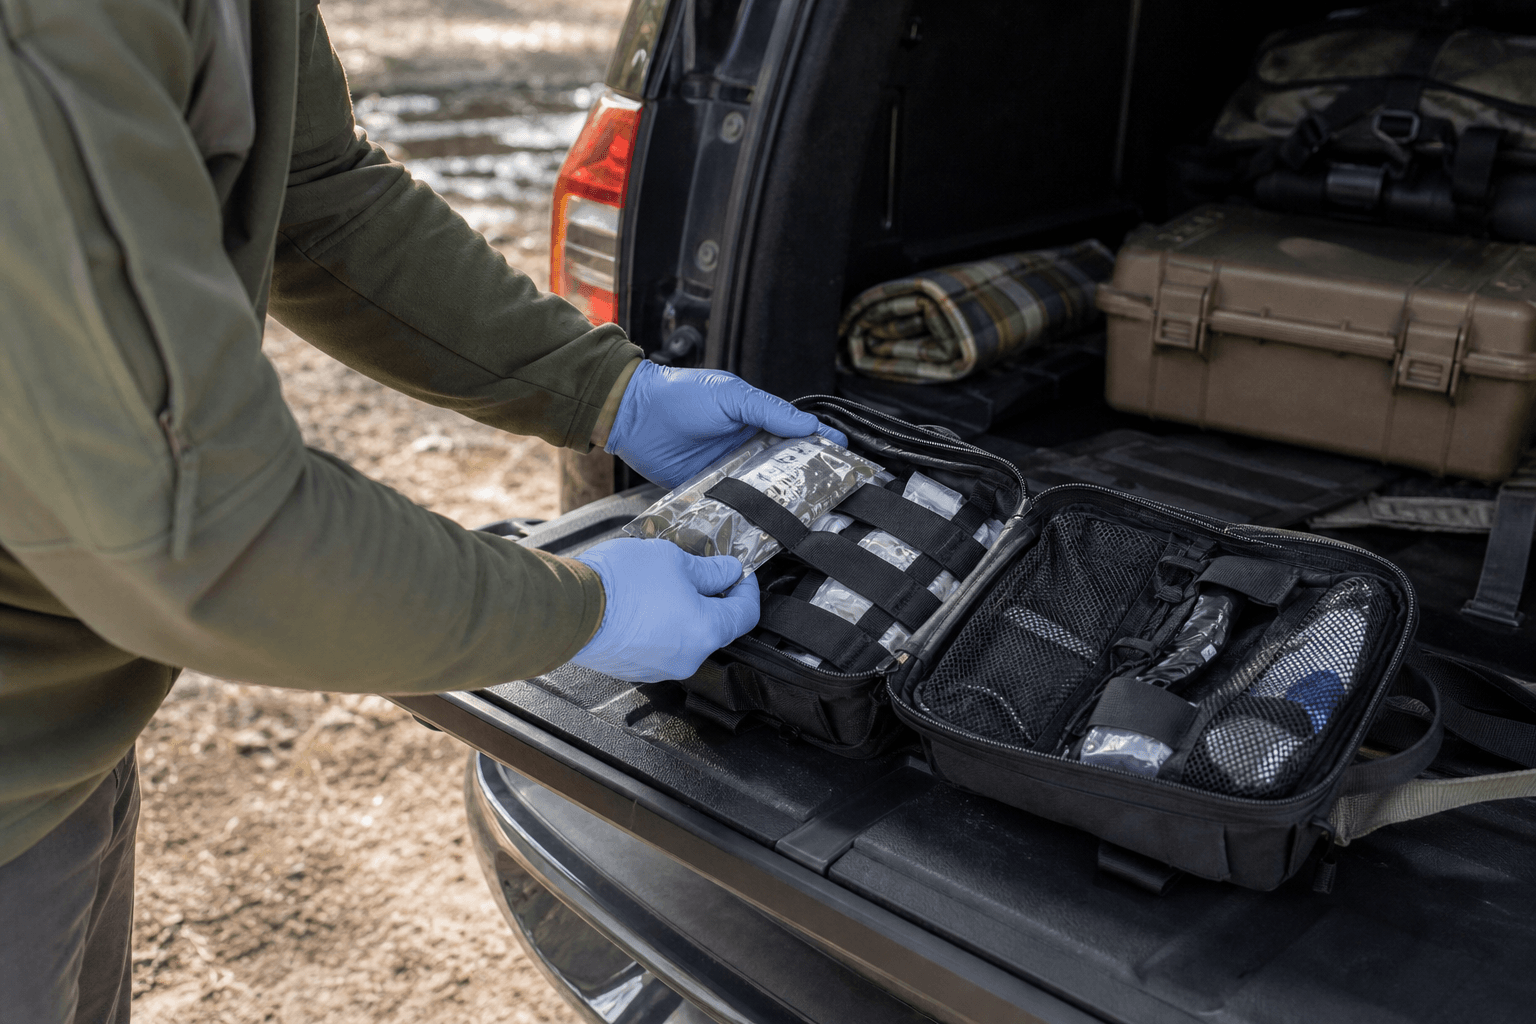
Open the kit and look for obvious signs of damage: torn or swollen wrappers, moisture, dust, sun fading, adhesive failure, brittle material, loose elastic, and missing labels. Check products against their labeled use-by or expiration dates. Follow the instructions supplied with each product, especially where storage conditions and replacement guidance are specified.
Do not try to rationalize questionable equipment back into service because it is expensive or because the pouch is otherwise full. If a sterile item is opened, packaging is compromised, or an item has been exposed to contamination, replace it. The cost of a refill is small compared with finding a missing or unreliable component at the wrong moment.
3. Restore the layout
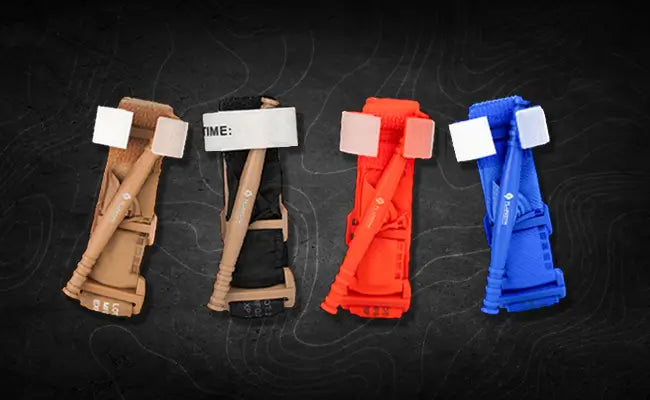
Every item should have a job and a home. Gloves should be easy to find. Critical equipment should be visible or retained in a predictable place. Trauma shears, a marker, thermal protection, and other configured items should not migrate to random pockets over time.
Take a photo of the correct layout after you organize it. That image becomes a quick reference when you restock after training, travel, or a real emergency. Consistent layout matters because stress reduces the time available to think. A familiar pouch lets your hands work from memory instead of from a search pattern.
4. Review the wider vehicle system
The trauma pouch is the rapid module, not the entire plan. Check the support layer too: refill supplies, lights, phone charging, high-visibility items, emergency blankets, water, and any route-specific gear. Confirm that cargo is secured and that nothing blocks the cabin-mounted kit.
This is also the right moment to update emergency contacts, confirm that phone chargers work, and remind frequent passengers where the kit lives. A prepared vehicle is more than its medical equipment; it is a set of simple systems that work together.
Heat, cold, and long-term storage
The vehicle environment changes by season, so your maintenance plan should too. Before summer, look especially carefully at materials affected by heat and at where the pouch sits in direct sun. Before winter, check that mounting hardware, zippers, and packaging remain manageable in cold conditions. Before a trip through wet or dusty terrain, confirm that the pouch closes properly and that support gear is protected.
Avoid locations that expose the kit to unnecessary heat, sunlight, crushing, or liquids. A cabin-accessible mounting point should be practical, but it should also keep the pouch away from floor debris and the places where passengers regularly spill drinks. If a product has specific storage instructions, those instructions should guide your decision.
The point is not to chase a perfectly controlled environment; a vehicle cannot provide one. The point is to reduce predictable damage and replace supplies before you need to trust them.
Replace after use, training, and uncertainty
A kit becomes incomplete one missing item at a time. That is why replacement triggers should be clear.
- **After a real emergency:** Treat used, opened, or contaminated supplies as out of service. Clean and inspect the pouch, document what was consumed, and restock promptly.
- **After a training session:** Keep dedicated training equipment separate from live gear. If live items were opened or heavily used, replace them according to manufacturer guidance and your course instruction.
- **After environmental exposure:** Replace items that are wet, torn, swollen, brittle, sun-damaged, adhesive-compromised, or otherwise questionable.
- **After reorganizing:** Compare the pouch with your layout photo and make sure critical items have not been buried beneath less urgent supplies.
- **After lending supplies:** Restock immediately. Do not rely on memory after a busy week or a long trip.
Keeping a modest refill cache at home simplifies this process. When you have replacement gloves, gauze, and other configured consumables available, you can restore the kit the same day instead of leaving it partly empty until the next order arrives.
Make the kit understandable to passengers
Maintenance is also a communication habit. During a seasonal check, show family members, coworkers, or frequent passengers where the kit is. Explain that the first step in a serious incident is to stay safe and call emergency services. Tell them how to remove the pouch and where a deeper support bag is stored.
For a family vehicle, simple instructions are better than complex protocols. “The emergency kit is behind the passenger seat.” “Call emergency services and bring the kit.” “Stay clear of traffic.” These statements are easy to recall. They also make the kit more useful if the driver is the person who needs help.
For a work vehicle or fleet, standardize placement. A kit mounted differently in every truck creates hesitation. A consistent location, a simple inspection checklist, and one designated person responsible for restocking can transform loose equipment into a reliable team system.
Maintenance supports, but never replaces, training
A clean pouch cannot replace competence. The best vehicle trauma kit maintenance plan includes periodic hands-on training with qualified instructors. Training teaches not only equipment use, but also scene safety, communication, decision-making limits, and the importance of early emergency activation.
Practice access in your actual vehicle. Remove the kit in low light. Check whether it can be reached with a seatbelt on. Open it without scattering its contents. Repack it calmly. Use dedicated training equipment rather than repeatedly compromising live, ready supplies. This kind of practice reinforces the habits that matter before professional help arrives.
Conclusion
Vehicle trauma kit maintenance is simple, but it is not optional. The kit in your car is exposed to heat, cold, vibration, clutter, and time every day. A quick seasonal check keeps it visible, protected, complete, and organized. It also gives you a reason to revisit the skills and passenger instructions that make the gear useful.
FlareSyn™ vehicle-ready systems are designed to be staged, accessed, and maintained as part of a larger preparedness plan. Before the next road trip, summer heat wave, winter commute, or training day, open your pouch. Check the mount. Inspect the packaging. Restore the layout. Refill what is missing. The most dependable kit is not the one you bought once; it is the one you continue to keep ready.
Q: What should I replace after a trauma kit is used?
A: Replace used, opened, contaminated, damaged, or questionable supplies according to product instructions and your training. Inspect the pouch and restore its organized layout before returning it to service.
Q: Can I keep a trauma kit in the trunk?
A: The trunk is useful for a deeper support and refill layer, but it may be slow or impossible to access after a crash. Keep a compact rapid-access module inside the passenger compartment as well.
Q: Why should I separate training gear from live gear?
A: Repeated practice can wear or open equipment intended for emergency use. Dedicated training gear lets you practice while keeping live supplies protected, sealed, and ready.


Elias.H.Hwang
Elias H. Hwang is a tactical medicine expert and lead contributor at FlareSyn. He specializes in emergency trauma protocols and preparedness education, helping civilians and professionals alike master the tools and skills needed to save lives in critical moments.