What Should You Check First During an Emergency?
Emergencies can strike at any moment. Whether it’s a car accident, a health crisis, or a natural disaster, knowing how to respond quickly and effectively is critical in saving lives. However, many people freeze or panic in these high-stress situations, unsure of what to do first. The first few minutes of an emergency can make the difference between life and death. So, what should you check first during an emergency?
We'll discuss the critical steps you need to take immediately during any emergency, focusing on the essential actions that can save lives and prevent further harm. By understanding these actions, you'll be equipped to handle a crisis with confidence and clarity.
Immediate First Steps to Take During Any Emergency
When an emergency occurs, your priority should be to ensure safety, both for yourself and the victim. Scene safety is crucial because it helps prevent additional injuries or harm during your response.
Scene Safety: Ensuring the Area is Safe
Before rushing to assist someone in an emergency, the first step is to assess the scene. This involves checking the surroundings for any potential dangers. For example, is there a fire nearby? Are there exposed electrical wires that could cause harm? Is traffic moving through the area, or are there other hazards, such as unstable structures? These dangers need to be identified and dealt with or avoided before you proceed with helping the victim.
If you see any signs of smoke, fire, or unstable structures, these must be addressed or avoided to prevent further injuries. Protect yourself first, if there’s a threat to your safety, do not approach the scene until it is secure or you are certain it is safe. For instance, if you’re at the scene of a car crash, check for leaking fuel or downed power lines before moving closer.
Victim’s Condition: Assessing the Situation
Once you've ensured that the scene is safe, the next critical step is to assess the victim’s condition. The priority here is to quickly determine whether the person is conscious and breathing. Start by shouting their name and tapping their shoulder to check for responsiveness. If they respond, check for visible injuries that may need immediate attention. Next, look closely to see if the person is breathing. If there are no signs of breathing or if they are not responsive, you may need to begin CPR immediately. Your goal is to ensure the victim’s safety and prevent their condition from worsening. If the victim is unresponsive, you’ll need to act fast and efficiently.
Avoid Further Risk
In some cases, the victim may have injuries that need immediate care, but it's important not to put yourself at further risk. For instance, if the victim’s injuries are the result of a car accident or an electrical incident, you mustn’t handle dangerous equipment or chemicals unless you are trained. Always be mindful of any additional risks at the scene that could harm you or worsen the situation. If you are unsure of the dangers, it’s always better to call for professional help right away rather than risk your own safety.
Call for Help – When and How to Contact Emergency Services
In any emergency, calling 911 (or the local emergency number) is essential when the situation exceeds your ability to provide first aid. Here's how to handle the process:
When to Call 911
You should call 911 immediately if the situation involves:
-
Unresponsiveness
-
Severe bleeding
-
Difficulty breathing or not breathing at all
-
Chest pain or heart attack symptoms
-
A stroke or signs of a stroke
-
Severe burns or injuries
-
Any situation that may involve a life-threatening condition
Delaying the call for help in these situations can drastically impact the victim’s chances of survival or recovery.
What to Tell the Dispatcher
The information you provide to the dispatcher should be clear and concise. Here’s what to include:
-
Your location: The exact address or location of the emergency.
-
Details about the emergency: Describe the type of emergency (e.g., car accident, medical emergency, fire, etc.).
-
Victim information: Mention the number of people involved, their condition (e.g., unconscious, bleeding), and any immediate actions you’ve taken (such as CPR).
-
Stay on the line: Do not hang up until instructed by the dispatcher. They may provide further instructions or guidance.
Using Speakerphone
If you are alone, it’s helpful to put your phone on speaker to allow you to continue taking action (like performing CPR or applying pressure to a wound) while still communicating with emergency services.
The Core First Aid Steps to Take: The 3 Cs of Emergency Care
The 3 Cs; Check, Call, Care, are the essential first aid steps to follow in any emergency. Let’s break down each step:
Check: Assessing the Situation
The first thing you need to do in any emergency is assess the situation to understand what you’re dealing with. This is where scene safety and victim assessment come in.
-
Scene Safety: Make sure there’s no ongoing threat.
-
Victim’s Condition: Check if they are conscious, breathing, and free of immediate danger.
Call: Contacting Emergency Services
After assessing the scene and the victim, it’s time to call 911. Always call for help, even if you feel you can manage the situation on your own. Medical professionals are trained to handle emergencies and can provide vital support. Make sure to relay the correct information to the dispatcher to ensure they can send the appropriate assistance as quickly as possible.
Care: Providing Immediate Aid
Once the scene is safe and you’ve contacted emergency services, it's time to provide care based on the victim’s condition.
-
CPR: If the person is not breathing, you will need to start CPR immediately. Ensure you're trained in CPR techniques before performing them, or follow the dispatcher’s instructions if unsure.
-
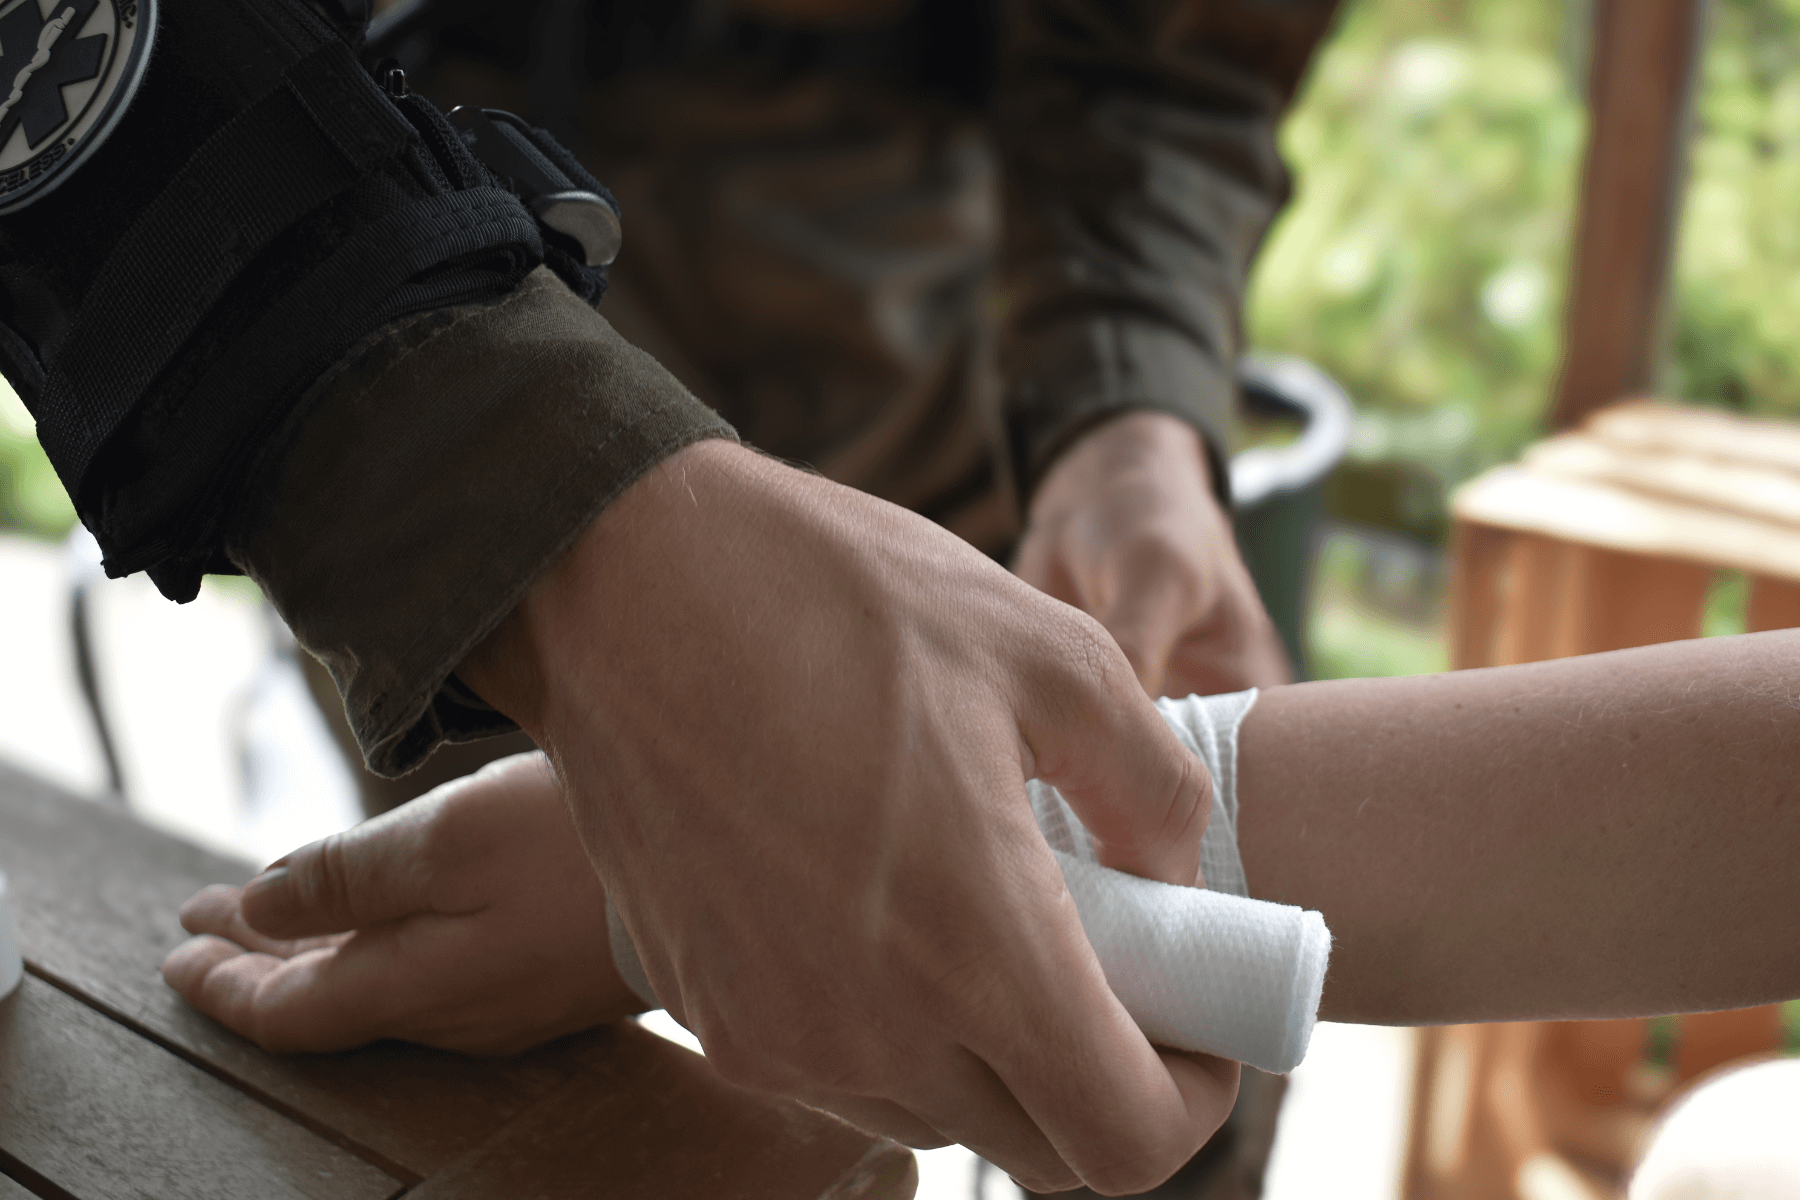
Bleeding Control: Apply pressure to severe wounds to stop the bleeding. If necessary, use bandages, cloth, or even your hand to apply pressure until help arrives.
-
Recovery Position: If the victim is unconscious but breathing, place them in the recovery position to keep their airway clear and prevent choking.
By following these 3 Cs, you can make sure you're taking the right steps to save the victim's life while waiting for professional help.
Recognizing Life-Threatening Emergencies and Responding Effectively
When an emergency strikes, knowing how to quickly assess whether the situation is life-threatening can save precious time. Some conditions require immediate intervention to prevent death or serious injury. Here’s what to look for in different scenarios:
Unresponsive Victims
An unresponsive victim is a major red flag that should not be ignored. Whether the person is unconscious due to a medical event, trauma, or another cause, they require immediate care. The first step is to check for breathing. If the person isn't breathing or is gasping, which is not considered normal breathing, start CPR immediately. If the person is unconscious but still breathing, place them in the recovery position to keep their airway clear. This position helps prevent choking from saliva or vomit and ensures the airway remains open until professional help arrives.
Severe Bleeding
Severe bleeding is a life-threatening condition that needs to be addressed immediately. The bleeding is often easy to spot, as it will be bright red and flow rapidly from the wound. To control the bleeding, use a clean cloth, a tourniquet, bandage, or your hand to apply firm, direct pressure on the wound. Elevate the injured limb above the heart, if possible, to help slow the blood flow. In extreme cases where direct pressure does not work, a tourniquet can be applied, but only in life-threatening situations where it’s necessary to prevent further blood loss.
Signs of Shock
Shock is a critical condition that occurs when the body does not receive enough blood flow, usually following a severe injury or illness. Common symptoms of shock include rapid breathing, pale or clammy skin, weakness, dizziness, and confusion. If you notice these symptoms, it’s essential to act quickly. Keep the person warm and lie them down with their legs raised. This helps improve blood circulation to vital organs and trauma care principles to stabilize a patient until paramedics arrive. While monitoring the person’s condition, call for professional medical assistance immediately, as shock can be life-threatening if left untreated.
Anaphylaxis (Severe Allergic Reaction)
Anaphylaxis is a severe allergic reaction that can occur within minutes of exposure to an allergen. This reaction leads to swelling of the airways, which can block breathing and result in death if not treated promptly. Signs of anaphylaxis include difficulty breathing, swelling of the throat or tongue, dizziness, fainting, and hives. If someone is experiencing anaphylaxis, call 911 immediately. If an epinephrine auto-injector (such as an EpiPen) is available, use it as soon as possible. Ensure the person remains sitting upright or in a comfortable position, if they can, while awaiting medical assistance.
Choking (Adults and Children)
Choking occurs when a foreign object or food blocks the airway, making it difficult or impossible to breathe. In adults, choking can be life-threatening, requiring immediate intervention. The signs of choking include clutching the throat, coughing, gasping for air, or an inability to speak. If the victim is only mildly choking and can still cough, encourage them to continue coughing to dislodge the object. If the choking is severe, administer back blows followed by abdominal thrusts (the Heimlich maneuver). If these steps do not relieve the blockage, call immediately for assistance.
Burns and Chemical Burns
Burns vary in severity, from minor to life-threatening, and must be treated according to their intensity. For minor burns, cool the area with running water for at least 20 minutes and then cover it with a clean cloth or bandage. Severe burns, especially those that cover a large area, should be covered with clean, non-stick material, such as cling film, and medical help should be sought immediately. Chemical burns require immediate attention as well. Rinse the affected area with running water for at least 20 minutes and seek emergency medical help to prevent further damage.
Fractures and Sprains
Fractures, whether simple or compound, are painful injuries that can cause significant complications, such as internal bleeding. Symptoms of a fracture include pain, swelling, bruising, deformity, and an inability to move the affected limb. To treat a fracture, immobilize the limb using a splint or any sturdy material you have, such as a board or a rolled-up towel. For fractures of the back, neck, or hip, or when a bone protrudes through the skin, as these types of fractures require professional medical care to avoid further injury.
Heart Attack and Stroke
Heart attacks and strokes are both time-sensitive emergencies that require immediate attention. Common signs of a heart attack include chest pain or discomfort, shortness of breath, nausea, lightheadedness, and pain in the arm or jaw. If you suspect someone is having a heart attack, call 911, have the person sit down, and, if appropriate, offer aspirin (300 mg), provided the person is not allergic to it. For a stroke, symptoms include sudden numbness or weakness on one side of the body, slurred speech, confusion, and difficulty seeing. Use the FAST test (Face, Arms, Speech, Time) to assess the symptoms.
Tools You Should Always Have on Hand for Emergencies
Having the right tools during an emergency can make all the difference. Being prepared means you can respond swiftly and effectively in critical situations. Below is a list of essential emergency supplies you should keep in your home and car.
Essential Tools for an Effective Response
Being prepared means having the right gear in the right place. An effective response often requires more than just standard bandages.
-
For the Individual: A compact IFAK (Individual First Aid Kit) is essential for personal carry or outdoor activities.
-
For the Vehicle: Roadside accidents require specialized supplies. Ensure you have a Car Trauma Kit stored within reach of the driver's seat.
-
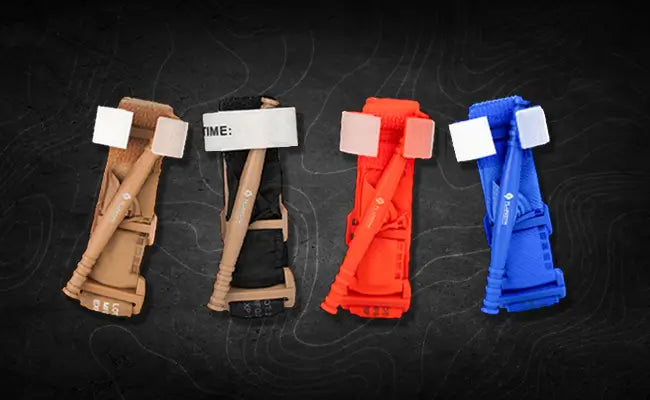
Advanced Bleeding Control: For deep wounds, having a Bleeding Control kit or Chitosan gauze can stop bleeding significantly faster than traditional gauze.
Advanced Equipment
In more severe emergencies, you may need advanced medical supplies:
-
Defibrillator (AED): This is a lifesaver if someone goes into cardiac arrest.
-
Splints and Stabilisers: To immobilise fractures before professional medical help arrives.
-
Emergency Blanket: To keep victims warm in cases of shock or hypothermia.
These tools will help ensure you are prepared to handle a variety of emergencies, whether at home or on the go.
Mental and Emotional Preparedness During an Emergency
Handling an emergency requires more than just technical knowledge of first aid. Staying calm and focused is essential in these high-stress situations. Panic can cloud your judgment and slow down the response, so it’s important to manage your emotions and keep a clear head. Here’s how you can prepare mentally:
How to Stay Calm and Focused
One of the first things you need to do in an emergency is stay calm. This isn’t just about controlling your anxiety; it’s about thinking clearly, which is essential for making good decisions. Here’s how to stay composed during a crisis:
-
Breathe: Slow, deep breaths can help reduce panic. This calms your nervous system and helps you focus on the task at hand.
-
Focus on the Steps: Break the emergency down into manageable steps. First, ensure safety. Then, assess the victim’s condition. After that, call for help and provide care based on the situation.
-
Don’t Rush: It’s tempting to act quickly, but don’t rush your decisions. The key is to act effectively, not just quickly. Panicking or rushing through the steps can lead to mistakes that might make the situation worse.
Final Recap:
Now that we’ve gone through the essential steps, let’s recap the most important points:
-
Scene Safety: Before helping anyone, check that the scene is safe.
-
Victim’s Condition: Assess if the victim is responsive, breathing, and free of life-threatening injuries.
-
Call for Help: Call 911 immediately when the situation warrants.
-
Provide Care: Perform first aid, including CPR and bleeding control, based on the victim’s needs.
-
Stay Calm: Manage stress and make clear decisions to act effectively.
-
Keep Resources Ready: Have emergency numbers and first aid training resources accessible at all times.
Take Action and Be Prepared
Emergencies can happen at any time, but with the right knowledge and resources, you can be prepared to act quickly and effectively. Take the time to get certified in first aid and CPR, stock an emergency kit, and familiarize yourself with the local emergency numbers in Casper, WY.
At FlareSyn, we offer high-quality emergency preparedness products designed to help you manage a crisis.